
Gardening is a canvas where both novice and seasoned green thumbs can paint their unique stories, and there’s no better time to dive into this joyful craft than the weekend. Whether you’re just starting to explore the dance of spade and soil, or you’re already well-versed in the symphony of blooms, there’s a project waiting to ignite your passion right outside your door. In this article, we’re revealing ten easy gardening projects that will not only beautify your space but also deepen your connection with the natural world.
From transforming a corner of your yard into a vibrant vegetable patch to creating a sanctuary for pollinators with a small, buzzing wildflower garden, we’ve got projects that cater to every skill level and interest. You’ll discover how simple it can be to breathe new life into your garden with minimal time and resources—proving that even the smallest weekend endeavor can yield bountiful rewards. Each project is designed to be both delightful and feasible, ensuring you walk away with a sense of accomplishment and a garden that reflects your creativity and care.
Choosing Quick Project Materials
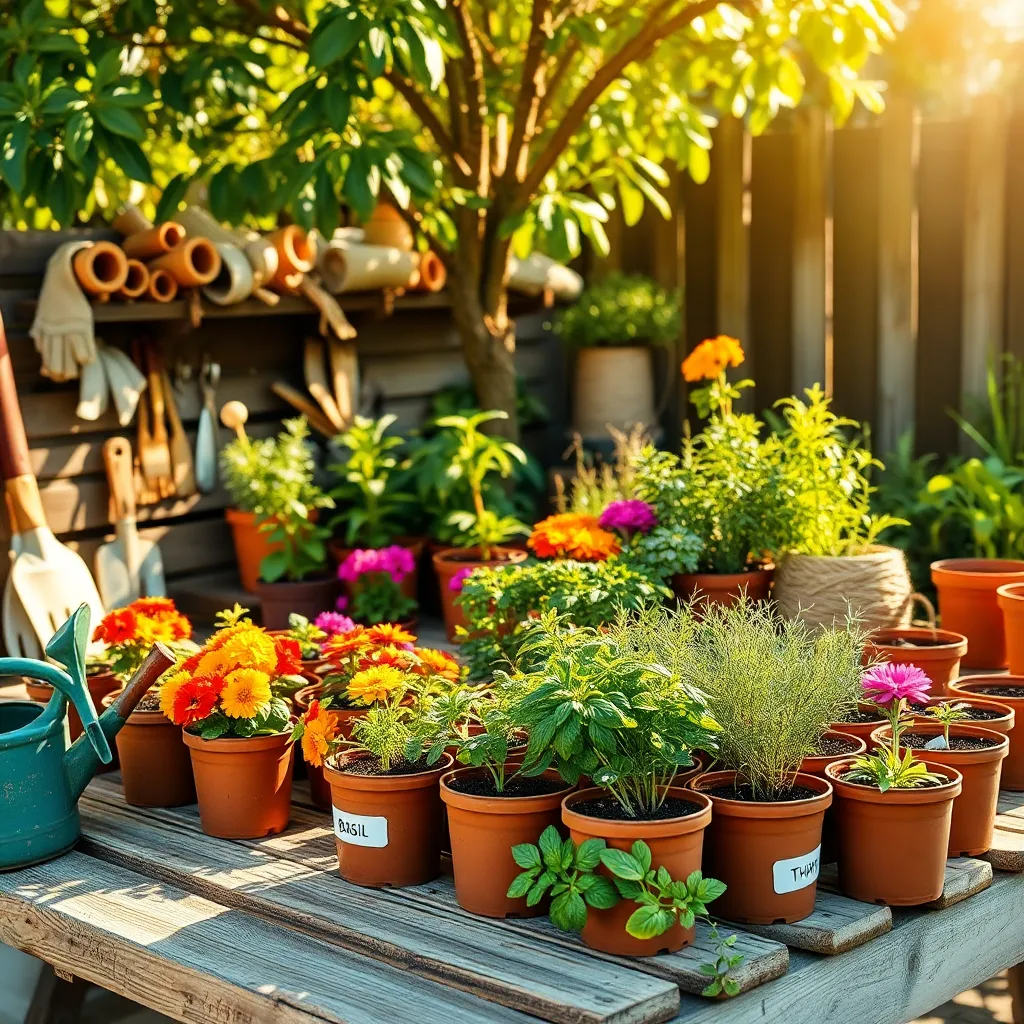
When it comes to quick gardening projects, selecting the right materials can make all the difference. Begin by choosing quality soil that suits the plants you wish to grow, such as well-draining potting mix for container plants or nutrient-rich garden soil for raised beds.
Consider using materials you already have at home to keep costs down and make the project more sustainable. For instance, repurpose old containers or kitchen scraps like eggshells and coffee grounds to enrich your soil with essential nutrients.
For beginner-friendly projects, opt for easy-to-handle materials like peat pots or seed trays that simplify planting. These items help you start seeds indoors, providing a controlled environment that boosts germination success.
Experienced gardeners might experiment with more sophisticated techniques, such as hydroponics, which requires investing in specific equipment like water pumps and nutrient solutions. This method allows for soil-free growing, which can be a fascinating project for those looking to expand their gardening skills.
Preparing Your Garden Space
Before diving into your gardening projects, it’s essential to prepare your garden space properly. Start by assessing the area for sunlight exposure and soil condition, as these are crucial factors for plant health.
Next, clear the space of any debris, weeds, or old plants to create a clean slate. This step not only improves the aesthetics but also prevents pests and diseases from lingering.
Consider testing your soil to determine its pH and nutrient levels, which can inform your choice of plants and any necessary soil amendments. A simple soil test kit from a garden center can provide valuable insights into improving your garden soil.
For those looking to enhance their soil, consider adding organic matter such as compost or well-rotted manure. These amendments improve soil structure, water retention, and nutrient content, benefiting both new and established plants.
If you’re planning to plant in containers, ensure you select the right potting mix. A quality potting mix provides excellent drainage and aeration, crucial for healthy root development.
Planting Easy-Grow Herbs
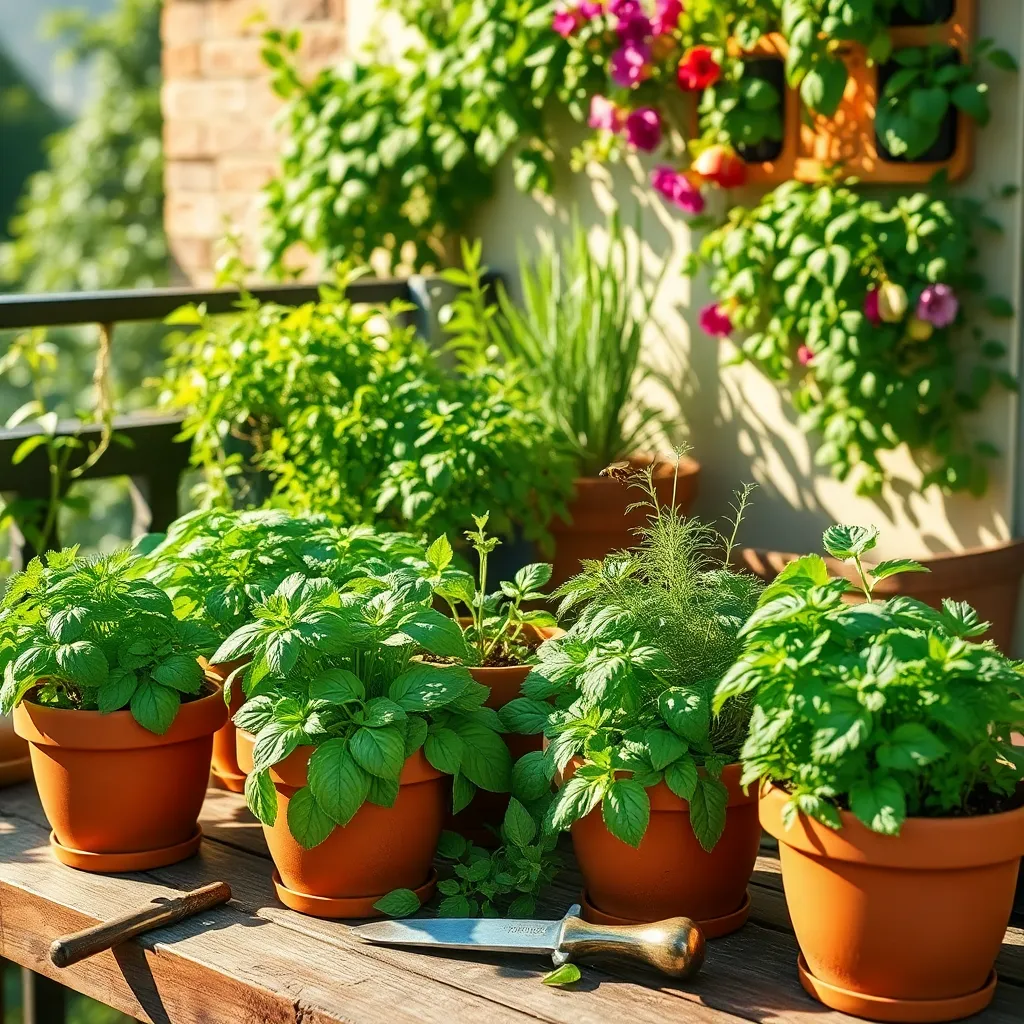
Growing herbs is a fantastic way to start gardening, as they require minimal space and care. You can plant herbs in small pots on a windowsill or dedicate a section of your garden to them for easy access and convenience.
Begin with easy-to-grow herbs like basil, mint, and chives, which thrive in a variety of conditions. These herbs are forgiving and can adapt to both sunny spots and partial shade, making them ideal for beginners.
When planting herbs, use a well-draining soil mix, enriched with compost to provide essential nutrients. Herbs generally prefer soil that is slightly alkaline, so consider adding a bit of lime if your soil tends to be acidic.
Water herbs regularly, but be careful not to overwater, as they do best in soil that dries out slightly between waterings. Aim to water herbs in the morning to give them time to absorb moisture before the sun is at its peak.
For those looking to expand their herb garden, consider adding rosemary and thyme, which are perennials that can survive over winter in many regions. These herbs thrive in full sun and require less frequent watering once established.
To encourage bushier growth in herbs like basil and mint, regularly pinch back the tips of the plants. This not only promotes more leaves but also prevents the plants from flowering too early, which can alter their flavor.
Creating a DIY Bird Feeder
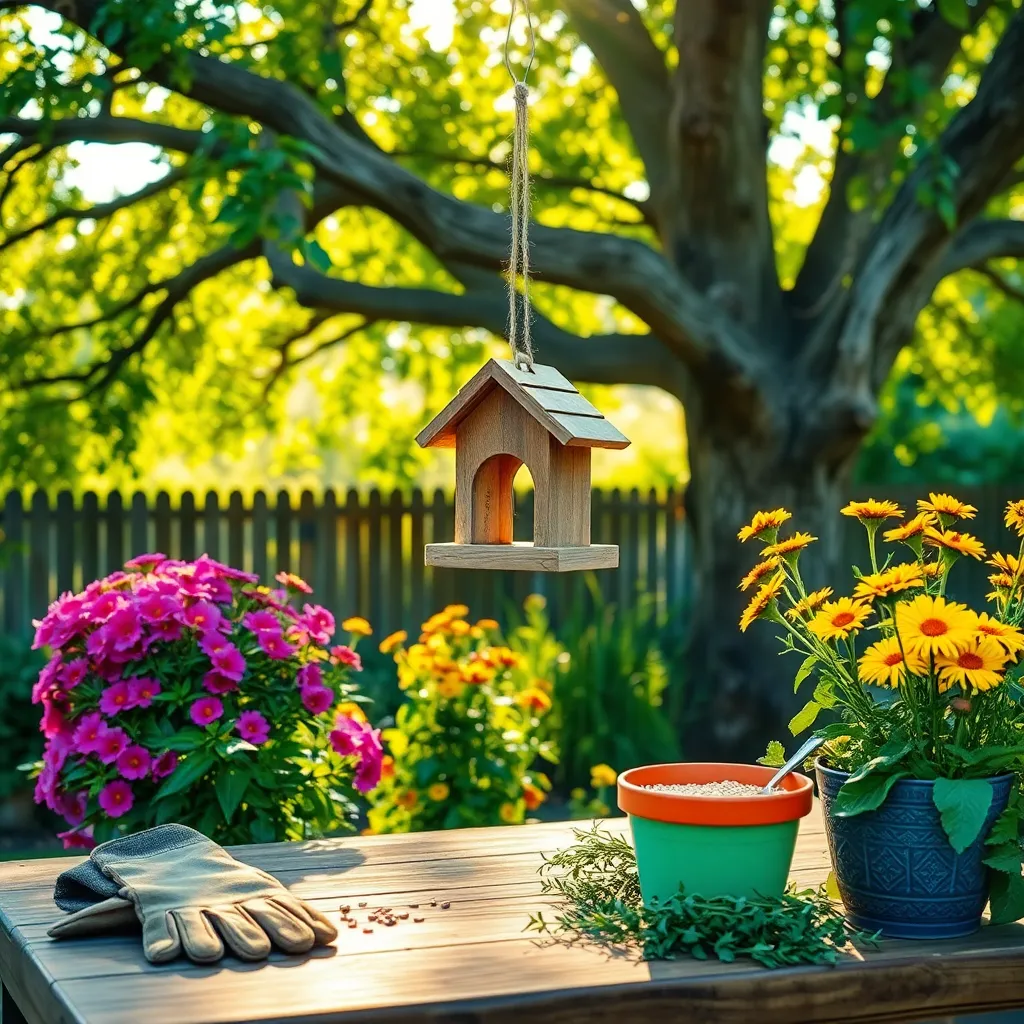
Creating a DIY bird feeder is a fantastic project that brings more life to your garden while helping local wildlife. Start by gathering materials such as a plastic bottle, wooden spoons, and twine; these make excellent components for a simple feeder.
Begin by making small holes in the bottle, just large enough for the spoons to pass through. Position the spoons so that the seeds can spill onto them, creating a perch for birds to rest and feed.
Fill the bottle with birdseed, ensuring it’s appropriate for the local bird species common in your area. Sunflower seeds, millet, and cracked corn are generally well-received by a wide variety of birds.
Hang your bird feeder in a location that’s easily accessible for birds but safe from predators, such as a tree branch or a garden hook. Remember to check and refill the feeder regularly and clean it periodically to prevent mold and disease.
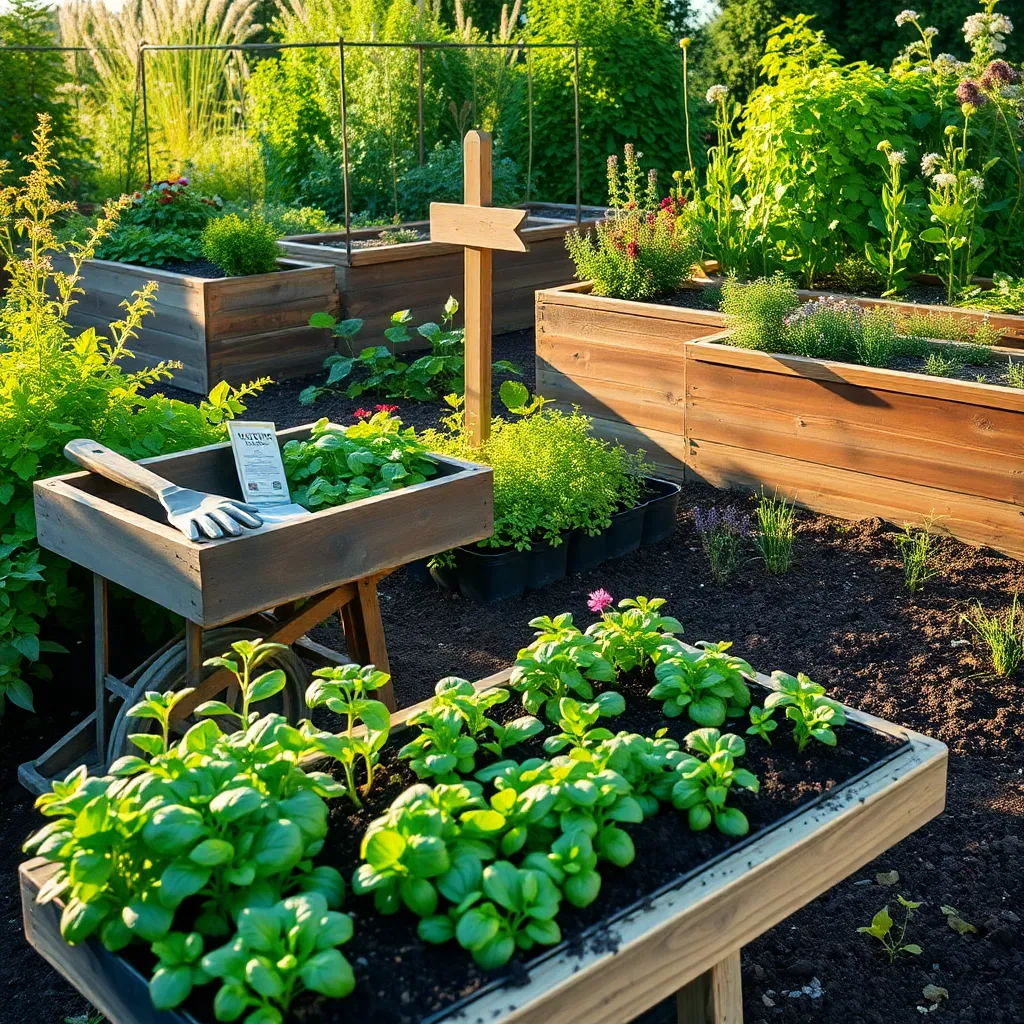
Building a Simple Raised Bed
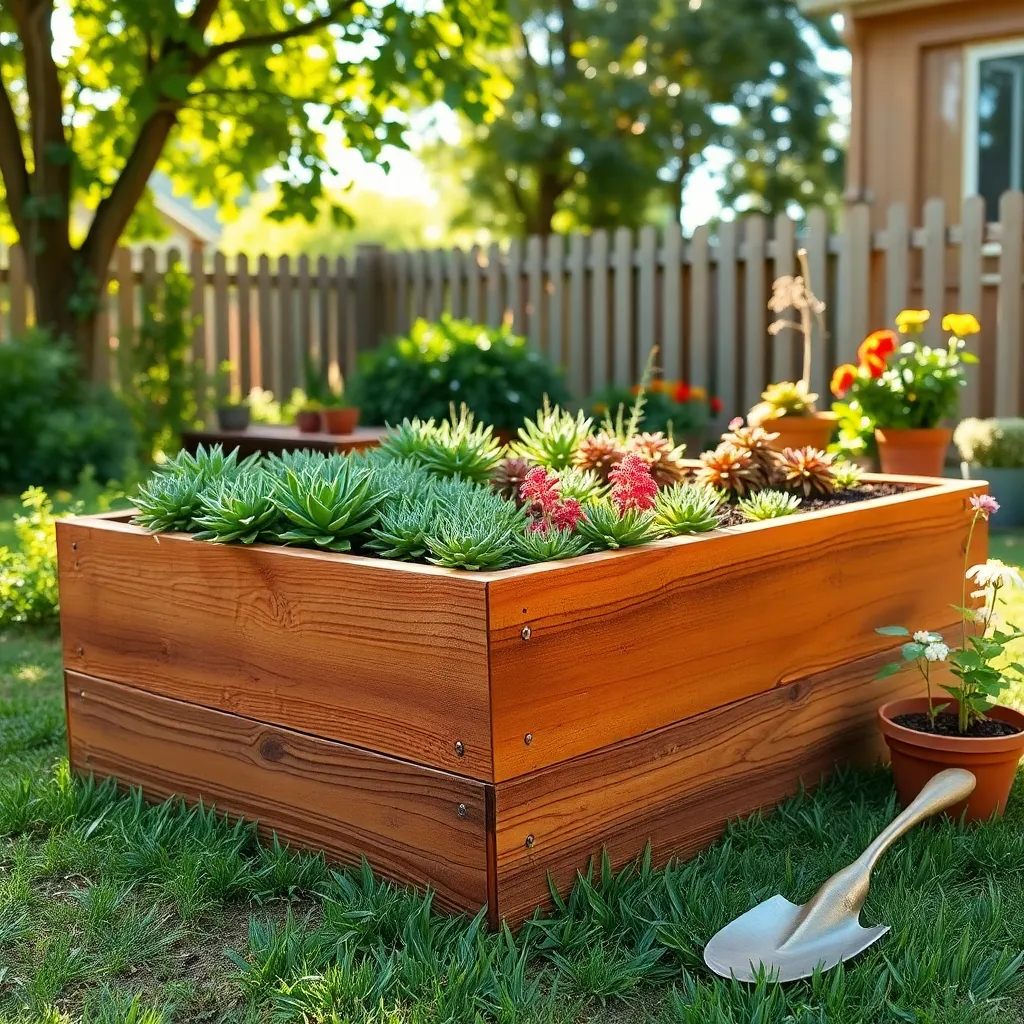
One of the simplest ways to enhance your garden is by building a raised bed. This project not only improves drainage and soil quality but also makes gardening more accessible and organized.
To begin, choose a sunny spot in your garden, ideally receiving at least six hours of sunlight daily. Select sturdy materials like untreated cedar or recycled plastic boards, ensuring they are free from harmful chemicals.
Constructing a basic raised bed involves assembling a rectangular frame of your chosen materials. Common dimensions are 4 feet wide by 8 feet long, with a height of 12-18 inches, which allows for deep root growth and easy access.
Fill your raised bed with a high-quality soil mix, combining equal parts of garden soil, compost, and perlite or coarse sand. This mixture ensures excellent drainage while providing essential nutrients for your plants.
Water your new bed thoroughly before planting to settle the soil and eliminate air pockets. For optimal results, keep the soil consistently moist, particularly during the seedling stage, to promote strong root development.
Consider planting a mix of vegetables, herbs, or flowers based on your preferences and climate. For beginners, easy-to-grow options like lettuce, radishes, and marigolds can offer quick and satisfying results.
Designing a Mini Succulent Garden
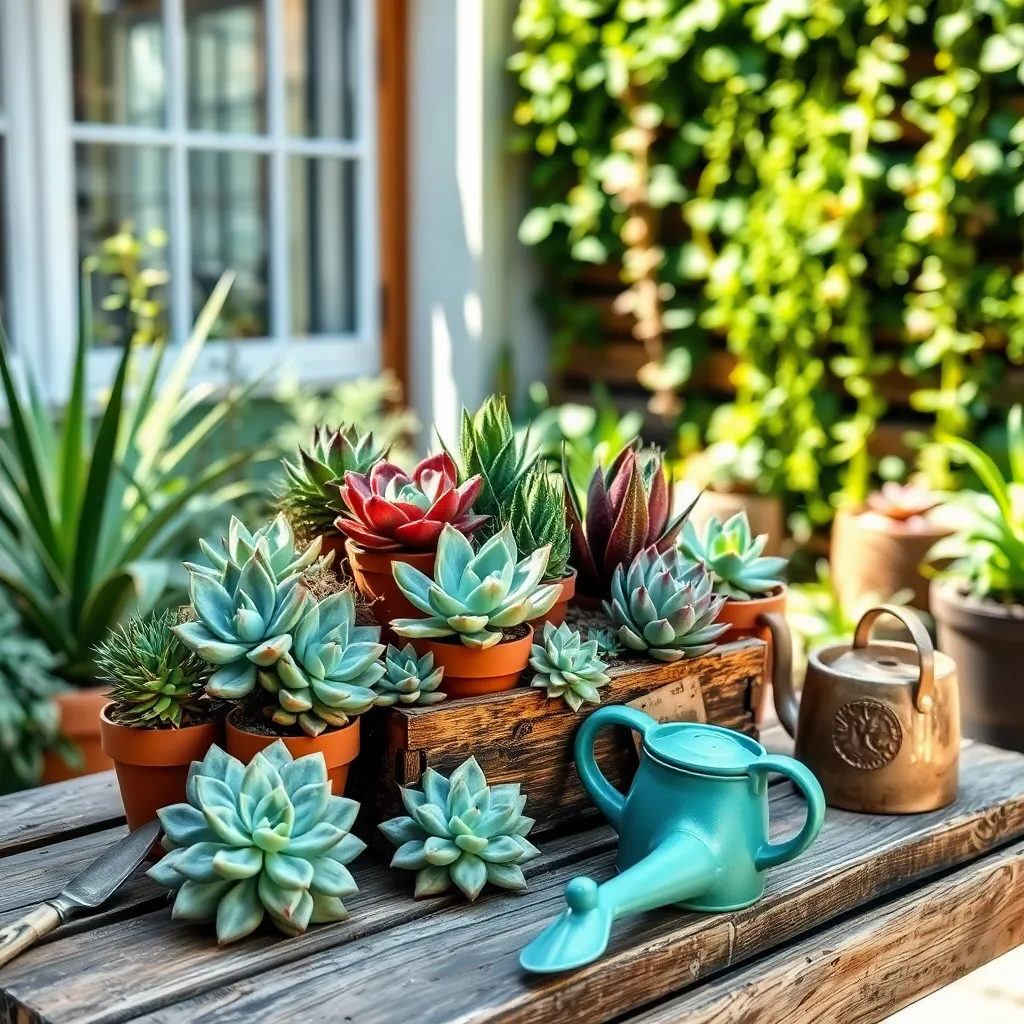
Creating a mini succulent garden is both a rewarding and low-maintenance project. Begin by selecting a shallow container with drainage holes, as succulents thrive in well-drained environments.
Use a specialized cactus or succulent potting mix to ensure proper soil conditions. If you can’t find this mix, you can improve drainage by adding sand or perlite to regular potting soil.
When choosing succulents, consider a variety of shapes, colors, and sizes for visual interest. Arrange them in the container, leaving enough space between each plant to allow for growth.
Place your mini garden in a spot where it will receive plenty of light, ideally near a south or east-facing window. Succulents generally need about 6 hours of indirect sunlight daily to stay healthy.
Water sparingly, allowing the soil to dry out completely between waterings. Overwatering is a common mistake; succulents are drought-tolerant and prefer to be on the dry side.
For an advanced touch, add decorative elements like small stones or figurines to personalize your garden. This not only enhances the aesthetic but also helps to anchor the plants in place.
Crafting Decorative Plant Labels
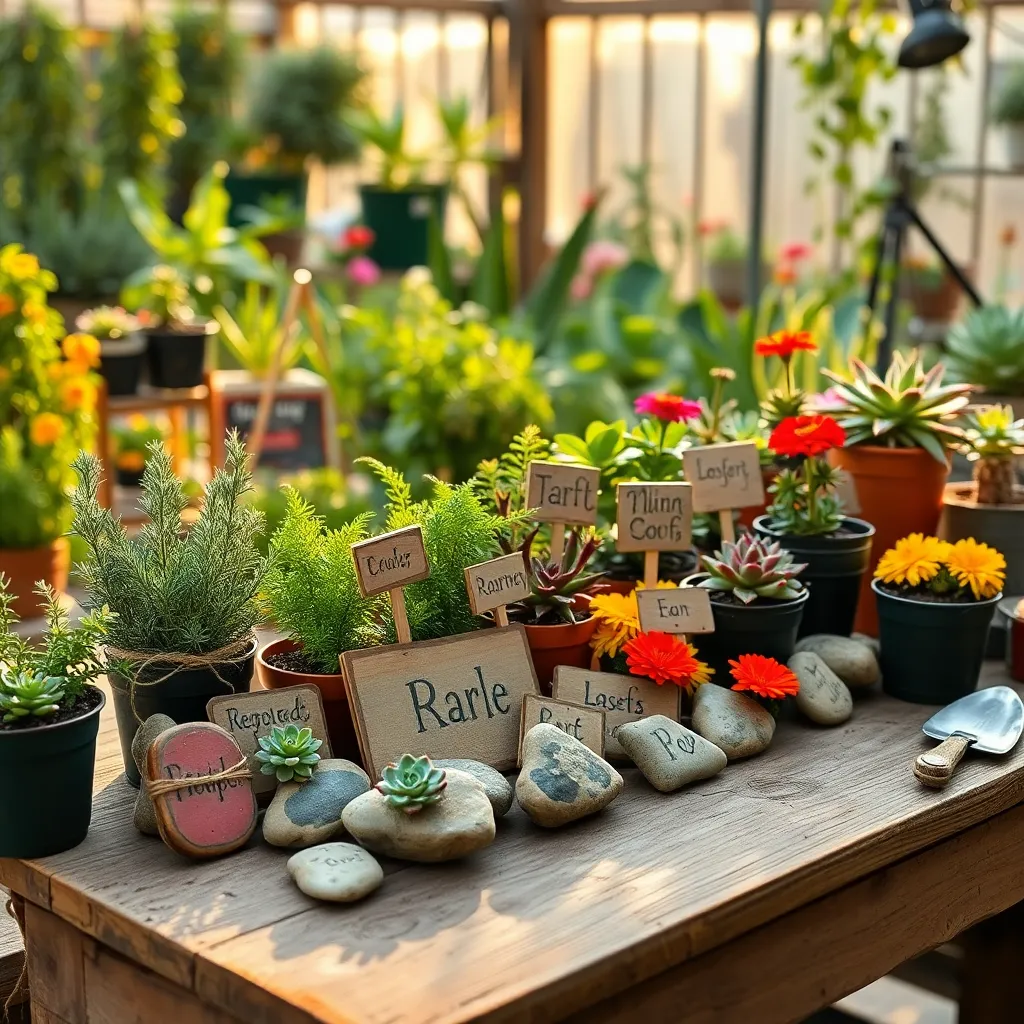
Creating decorative plant labels is a simple yet effective way to organize and beautify your garden. Begin by gathering materials such as wooden spoons, flat stones, or recycled plastic cutouts to craft your labels.
Labeling your plants not only helps with identification but can also add a personal touch to your garden space. To make your labels weather-resistant, consider using acrylic paint or permanent markers that won’t fade easily.
For beginners, start by labeling your most common herbs or vegetables. Write the plant name clearly, and for added detail, you can include the planting date or expected harvest time.
Advanced gardeners might enjoy adding artistic flair to their labels. Use decorative designs or paint small illustrations that represent the plant’s characteristics or growth habits.
Once your labels are ready, place them securely in the soil near the base of the plant. Make sure they are visible but not obstructing the plant’s growth or overshadowing smaller seedlings.
To maintain the labels’ appearance, periodically check and retouch any fading text or images. This ensures that your garden stays organized and visually appealing throughout the growing season.
Constructing a Vertical Planter
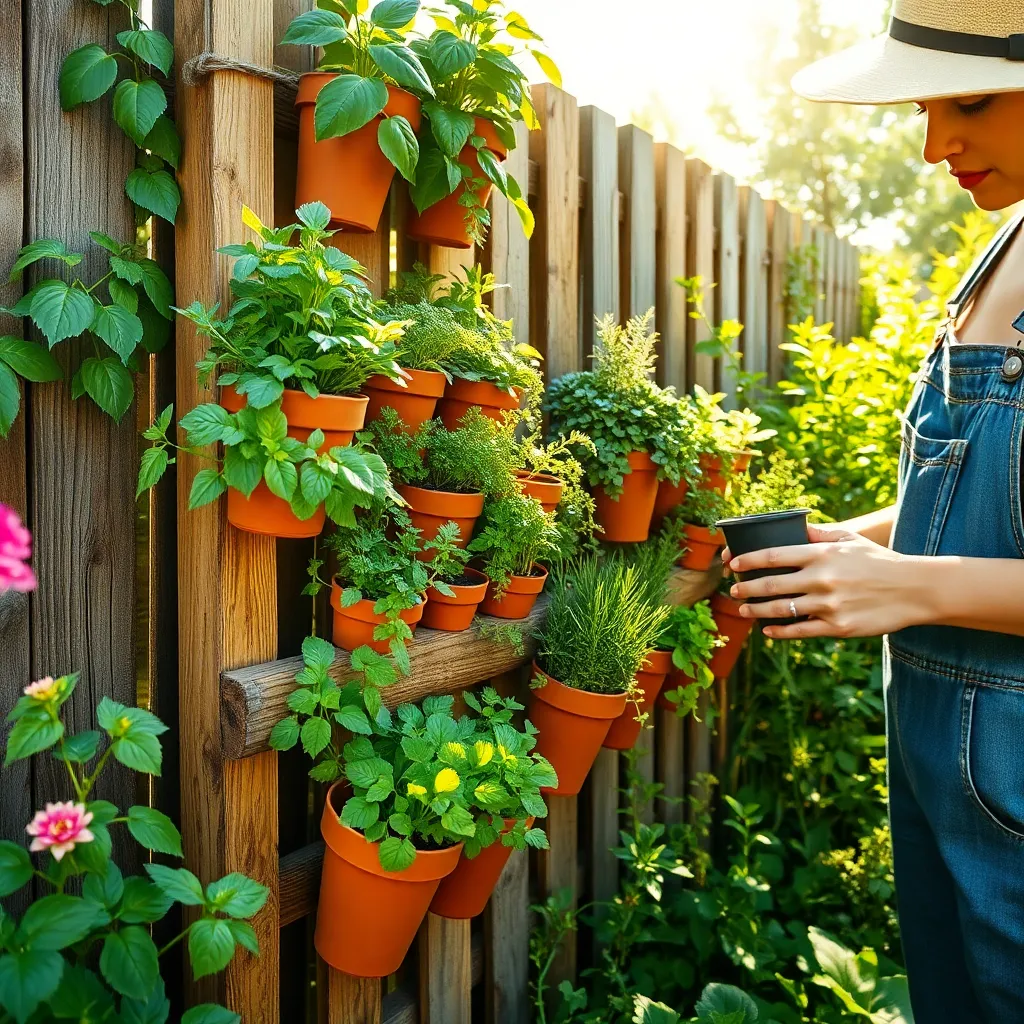
Constructing a vertical planter is a fantastic way to maximize your gardening space, especially in small areas. Begin by selecting a sturdy structure such as a wooden pallet, a metal frame, or a series of hanging pots.
Once you’ve chosen your structure, line it with landscape fabric to hold soil while allowing excess water to drain. Fill your planter with a lightweight potting mix that retains moisture but drains well, such as a mix with perlite or vermiculite.
When it comes to plant selection, opt for those that thrive in vertical settings, such as strawberries, herbs, or trailing plants like ivy. For beginners, herbs like basil, thyme, and mint are excellent choices due to their easy maintenance and versatility in cooking.
Ensure your vertical planter receives adequate sunlight, ideally six to eight hours a day, depending on the plants you choose. Watering frequency will vary based on your climate, but generally, check moisture levels daily; the top inch of soil should be dry before watering again.
For those seeking an advanced challenge, consider installing a drip irrigation system to maintain consistent moisture levels, especially in hot climates. Fertilize with a balanced, slow-release fertilizer every four to six weeks to support healthy growth and abundant yields.
Repurposing Containers for Plants
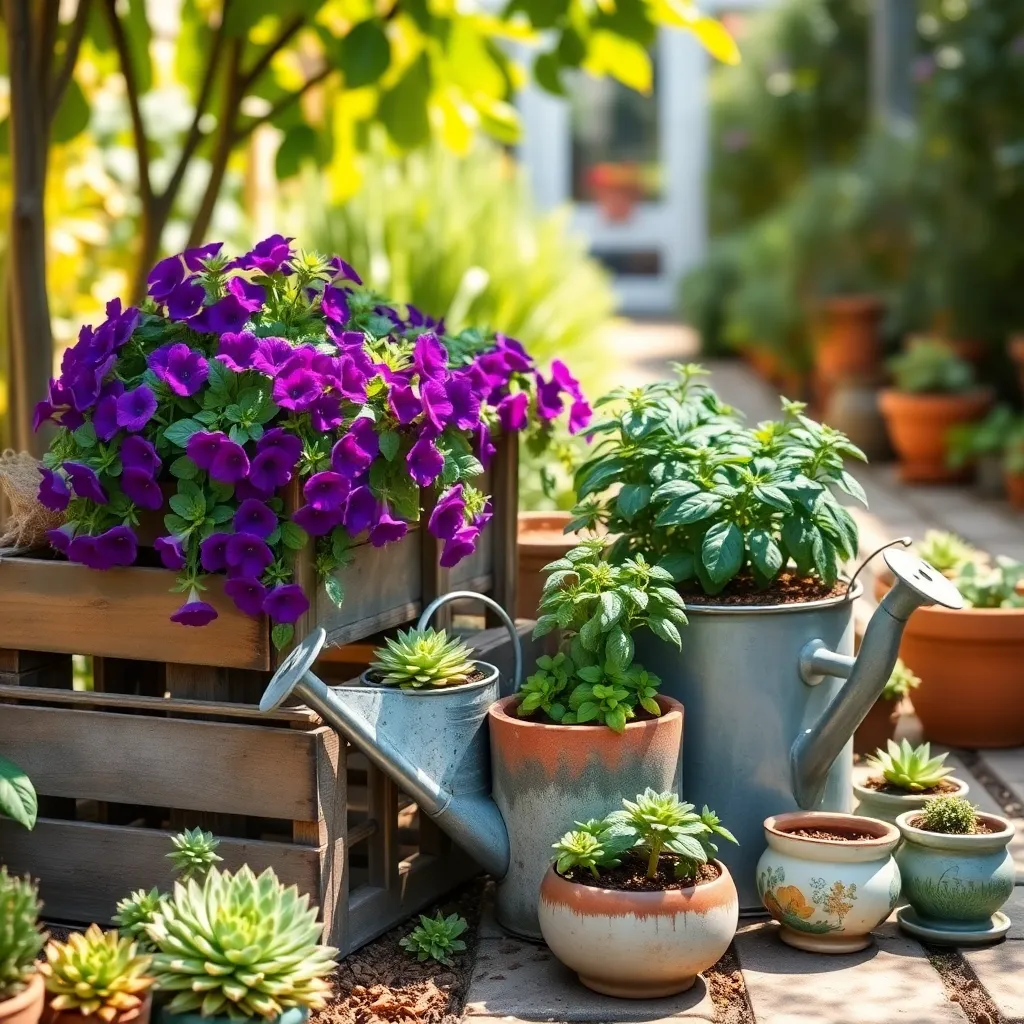
Repurposing containers for plants is a fun and sustainable way to expand your gardening space. Start by looking around your home for unused items like old buckets, tin cans, or even wooden crates that can be given a new life as planters.
Ensure that each container has adequate drainage to prevent waterlogging, which can harm plant roots. Drill holes in the bottom of containers if necessary, and line the base with small stones or broken pottery to improve drainage.
When selecting plants for your repurposed containers, consider the size and depth of each container. Shallow containers are perfect for herbs like basil and parsley, while deeper ones can accommodate root vegetables like carrots or radishes.
Using a high-quality potting mix is essential for container gardening, as it retains moisture while providing the necessary nutrients. Water your container plants regularly, but be cautious not to overwater; the soil should be moist but not soggy.
Setting Up a Compost Bin
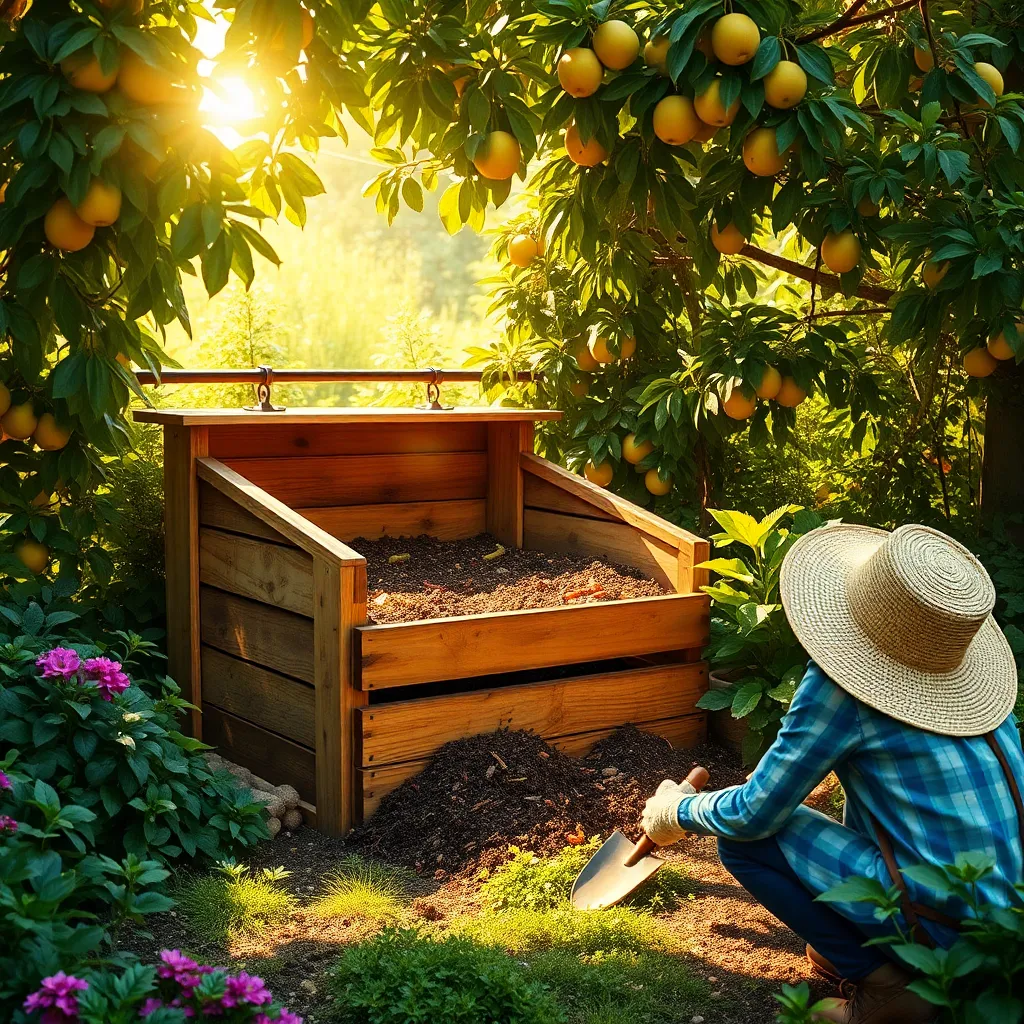
Composting is a fantastic way to reduce waste and enrich your garden soil naturally. To begin, choose a suitable spot in your garden that is easily accessible and ideally shaded to prevent the compost from drying out too quickly.
There are several types of compost bins available, including tumblers, DIY wooden structures, or simple heaps. Select a bin based on the space you have and the amount of organic waste your household generates.
Start by adding a balanced mix of green and brown materials to your bin. Green materials are rich in nitrogen and include kitchen scraps like fruit and vegetable peels, while brown materials, such as dried leaves and twigs, provide carbon and help to aerate the compost.
Regularly turning your compost heap will accelerate the decomposition process and prevent odors. Aim to turn the pile every two weeks, ensuring that the compost remains moist but not waterlogged to maintain optimal conditions for microbial activity.
Conclusion: Growing Success with These Plants
In exploring “10 Easy Gardening Projects to Try This Weekend,” we delved into the heart of nurturing relationships through shared activities. From planting a sensory herb garden that stimulates connection, to constructing a birdhouse that symbolizes a safe haven, each project underscores collaboration, patience, and growth—essential components in any thriving relationship. As you embark on these creative endeavors, not only will your garden bloom, but so too will the bonds you cherish, bringing you closer in both spirit and purpose.
Now, take a moment to choose one project from the list and set a date this weekend to dive in with your partner. Prioritizing quality time can transform ordinary moments into extraordinary memories. As you engage in these activities, you’ll find that the garden is merely a reflection of the loving relationships you cultivate.
Remember, this is just the beginning. Bookmark this article now, so you have a treasure trove of ideas at your fingertips whenever you need inspiration. By investing in these projects, you’re planting the seeds for lasting relationship success. Embrace this opportunity to grow together, nurturing a garden—and a partnership—that flourishes season after season.