
Welcome, fellow garden enthusiasts, to an exciting exploration of turning everyday kitchen scraps into nutrient-rich liquid gold for your plants! Whether you’re just beginning your gardening journey or you’ve spent years cultivating your green thumb, transforming kitchen waste into liquid fertilizer is an empowering and sustainable practice that benefits both your garden and the planet.
Imagine the satisfaction of knowing that your morning coffee grounds, vegetable peels, and eggshells are not just waste, but potent ingredients in a homemade fertilizer that can invigorate your plants. In this article, you’ll learn how to create your own liquid fertilizer using simple, cost-effective methods that reduce waste and enhance the health of your garden, making it thrive like never before.
As we delve into the process, you’ll discover tips on selecting the best kitchen scraps, the science behind nutrient extraction, and how to apply the liquid fertilizer effectively. This journey promises to deepen your connection with nature, offering a practical solution for reducing waste while nurturing the blossoms and blooms you cherish. So, roll up your sleeves and get ready to turn your kitchen scraps into a nourishing elixir that will transform your gardening game!
Understanding Kitchen Scraps’ Benefits
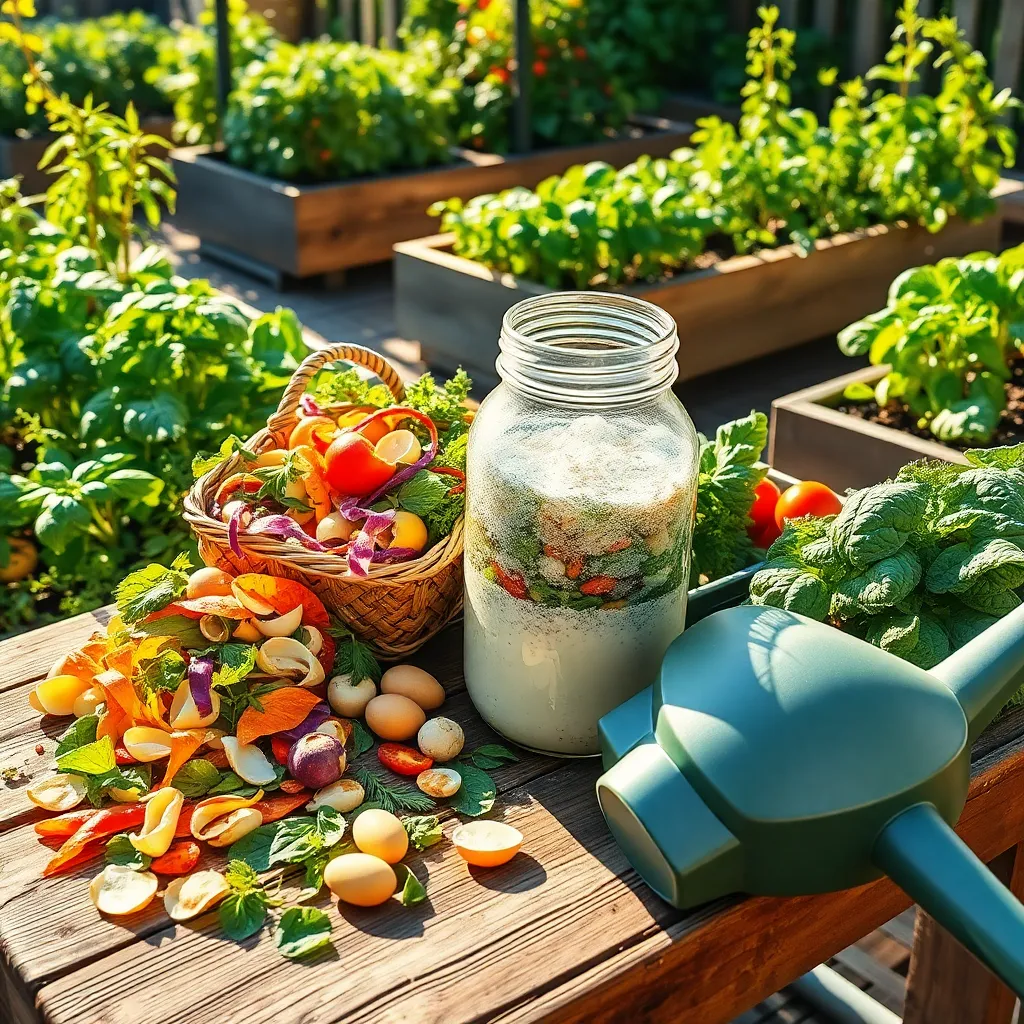
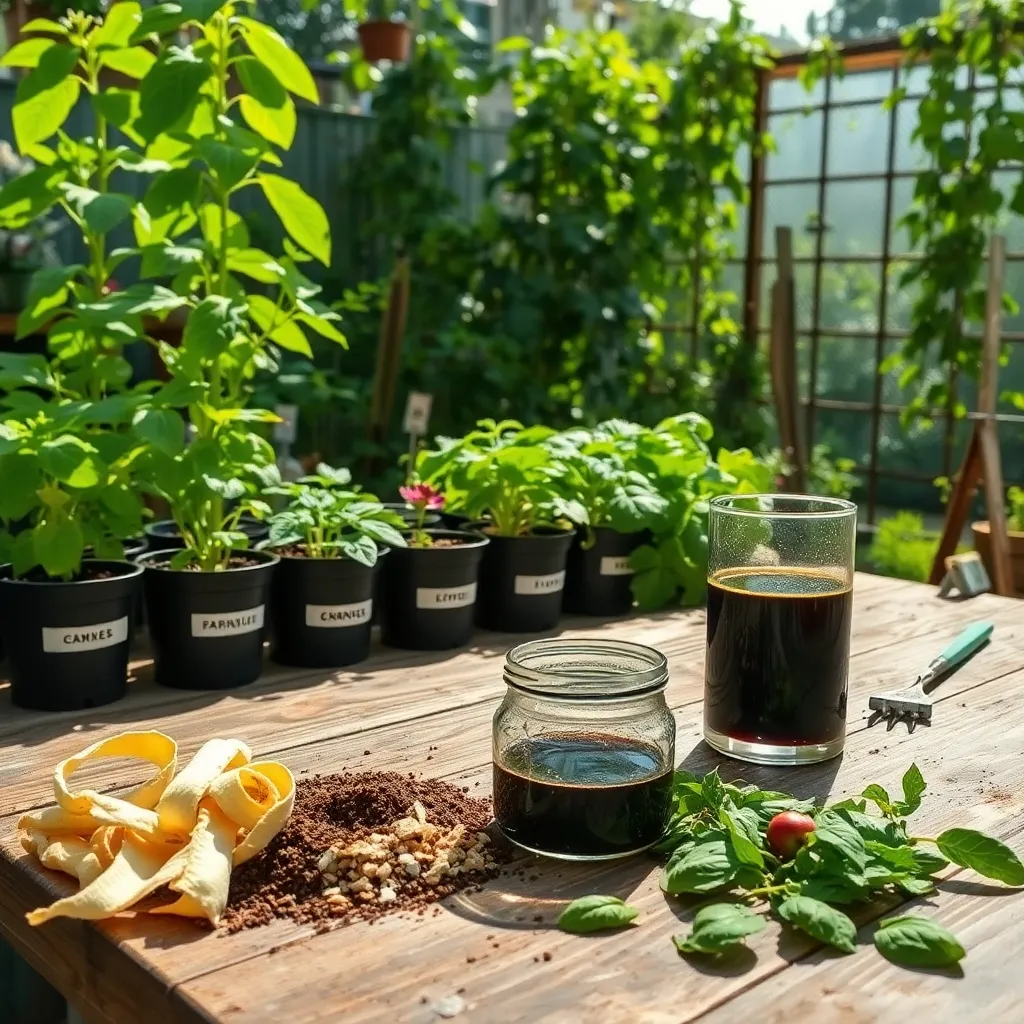
Kitchen scraps are a treasure trove of nutrients that can be transformed into a powerful liquid fertilizer. Scraps like vegetable peels, fruit rinds, and coffee grounds are rich in essential nutrients that plants crave, such as nitrogen, phosphorus, and potassium.
To harness these benefits, start by collecting your kitchen scraps in a dedicated container. Avoid using scraps from meat, dairy, or oils, as they can attract pests and create unpleasant odors.
Once you have a good collection, chop the scraps into smaller pieces to speed up the decomposition process. Place them in a large bucket and cover with water, allowing the scraps to steep for a few days until the liquid becomes a nutrient-rich tea.
This liquid fertilizer can be used to water your plants, providing a vital nutrient boost. Apply it once every two weeks for best results, ensuring your plants get a steady supply of nourishment.
For beginners, remember to dilute the liquid fertilizer before use; a common ratio is one part fertilizer to ten parts water. This prevents over-fertilization, which can harm plants by causing nutrient burn.
Experienced gardeners can experiment with different scrap combinations to tailor the nutrient profile to specific plants. For example, bananas are particularly high in potassium, making them perfect for tomatoes and flowering plants.
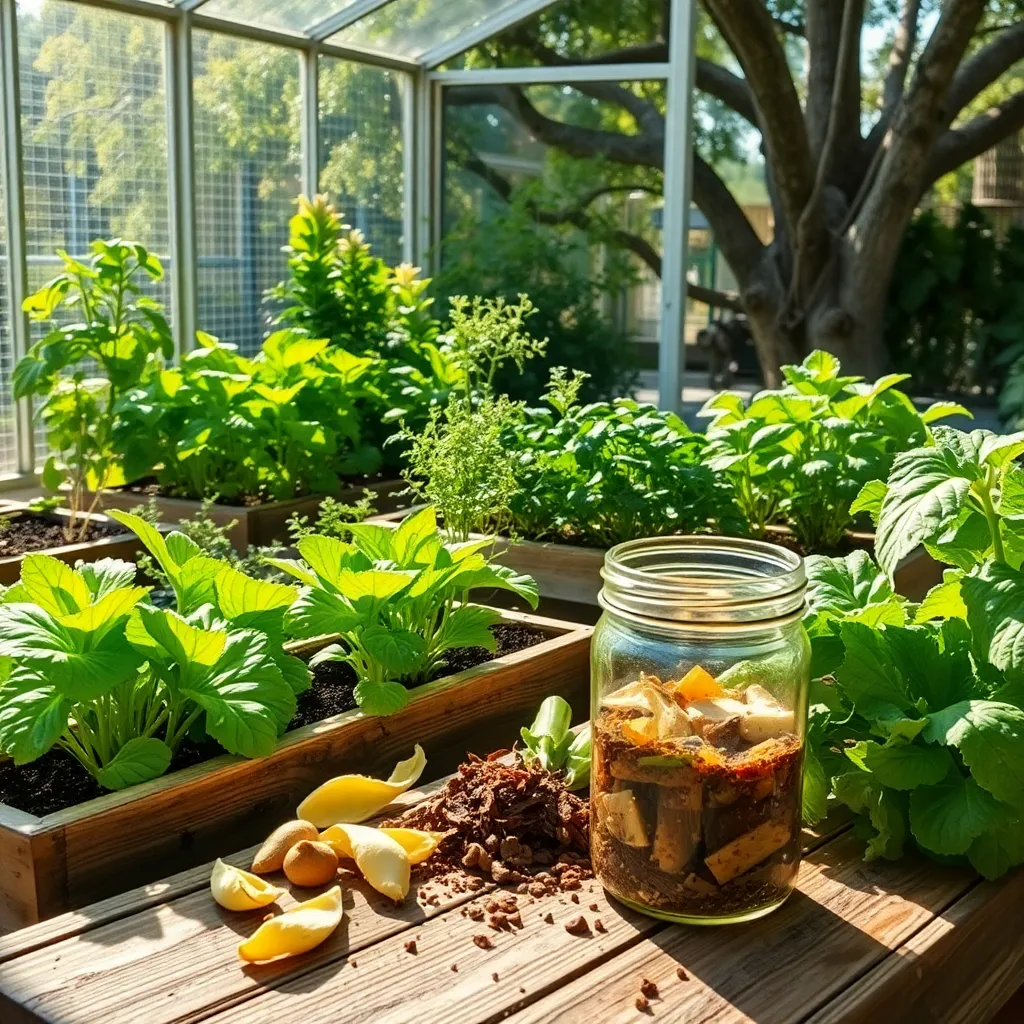
Knowing how to utilize kitchen scraps not only enriches your garden but also reduces waste, making your gardening practices more sustainable. Start small, observe how your plants respond, and gradually refine your approach to achieve the best results for your garden.
Essential Tools for Fertilizer Making
To start making liquid fertilizer from kitchen waste, you’ll need a few essential tools to ensure efficiency and effectiveness. A large container with a lid is crucial for collecting and storing your kitchen scraps. Look for a container that can hold at least 5 gallons, providing ample space for decomposition. A well-sealed lid helps prevent odors and keeps pests away.
Next, invest in a good quality blender or food processor to break down the scraps into smaller pieces. This step accelerates the decomposition process, making nutrients more readily available to your plants. Ensure the blender you use is for garden purposes only, as it might retain some odors or residue over time. For those with larger gardens, a manual compost grinder can handle larger volumes efficiently.
You will also need a stirring stick or a compost aerator to mix the decomposing matter regularly. Regular stirring introduces oxygen, which is crucial for aerobic bacteria that help break down the material into nutrient-rich liquid. For gardeners looking to optimize their process, consider using a battery-operated aerator for ease and consistency. This not only saves time but ensures a more thorough mixing.
Finally, acquire a straining tool, such as a fine mesh strainer or old pantyhose, to separate solid particles from the liquid fertilizer. This step is essential to prevent clogging when applying the liquid to your plants through a watering can or sprayer. Choose a strainer that fits comfortably over your container to minimize spills and mess. By having the right tools on hand, you’ll streamline the process, making it both efficient and rewarding.
Step-by-Step Fertilizer Creation
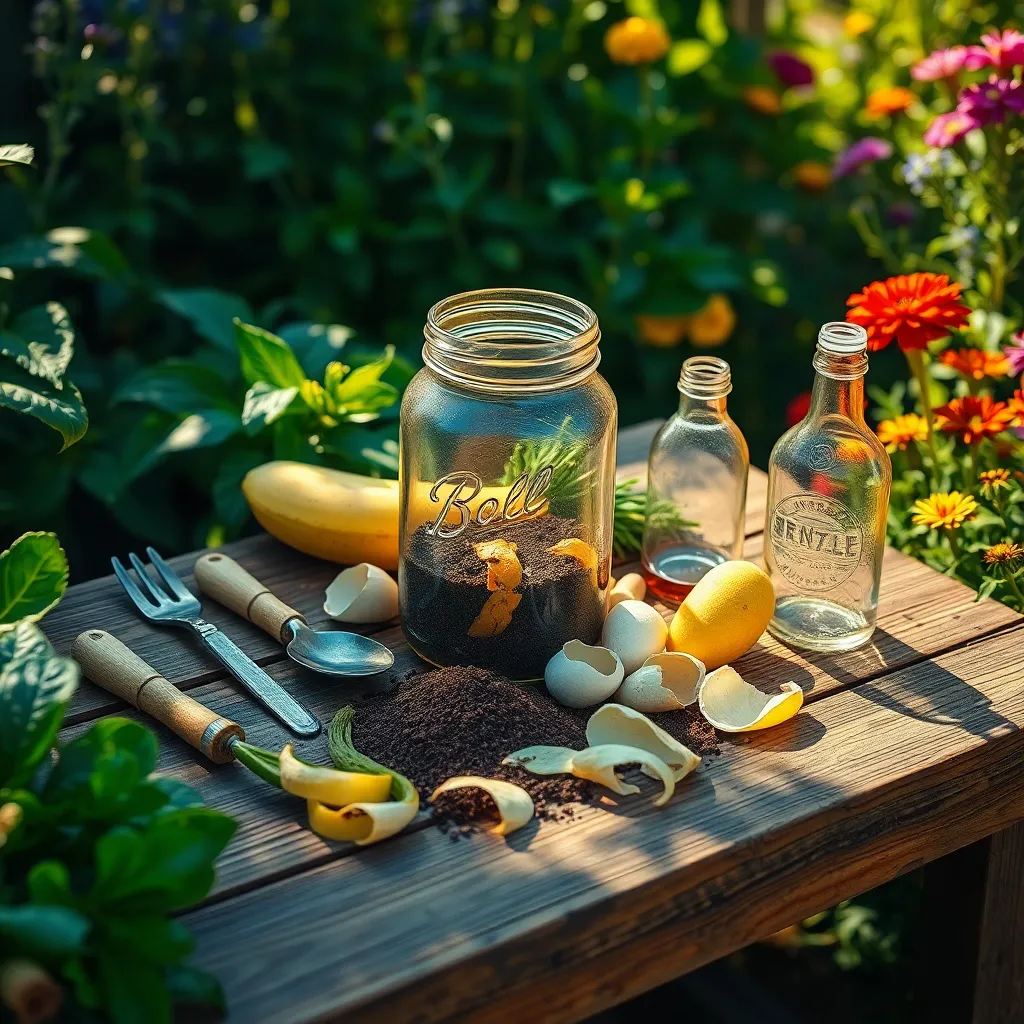
To begin making liquid fertilizer from kitchen waste, gather your materials, such as vegetable scraps, fruit peels, and used coffee grounds. These organic materials are rich in nutrients like nitrogen and potassium, which are essential for healthy plant growth.
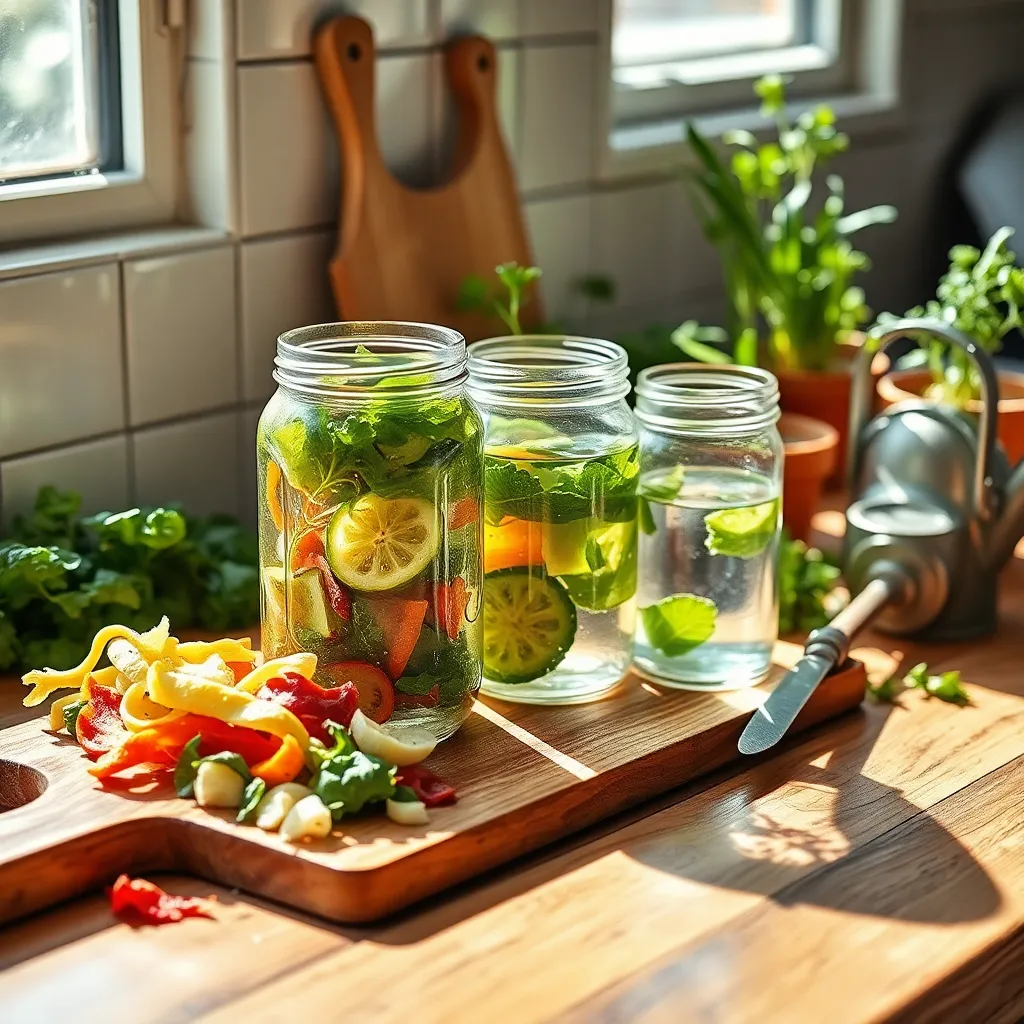
Next, fill a large container or bucket halfway with water and add your kitchen waste. Ensure the container is covered but not airtight to allow gases to escape during decomposition.
For best results, stir the mixture every few days to facilitate the breakdown of organic matter. This not only speeds up the process but also prevents the development of unpleasant odors.
After two to four weeks, your liquid fertilizer should be ready for use. Strain the mixture using a fine sieve or cheesecloth to remove any solid particles.
When applying the fertilizer, dilute it with water in a 1:10 ratio to avoid over-fertilizing your plants. This ensures a safe nutrient boost without risking root burn.
For more advanced gardeners, consider adding a handful of crushed eggshells to the mix for additional calcium. This can help strengthen plant cell walls, promoting healthier growth.
Application Techniques for Plants
Applying liquid fertilizer made from kitchen waste can significantly enhance plant growth when done correctly. Before application, ensure the fertilizer is properly diluted—typically a ratio of one part fertilizer to ten parts water is effective for most plants.
First, choose the right time to apply your homemade fertilizer, ideally during the early morning or late afternoon. This helps avoid the midday heat, which can cause rapid evaporation and reduce the fertilizer’s effectiveness.
For best results, use a watering can with a fine rose to disperse the liquid evenly across the soil surface. Focus on the base of the plant so the nutrients can be absorbed directly by the roots, promoting robust growth.
To maximize efficiency, consider the specific needs of your plants. For example, leafy greens and herbs benefit from regular applications every two weeks, while flowering plants may require less frequent feeding.
Advanced gardeners might experiment with foliar feeding, where diluted fertilizer is sprayed directly onto the leaves. This technique allows plants to absorb nutrients quickly through their foliage, offering a fast-acting nutrient boost.
Always monitor your plants for signs of over-fertilization, such as leaf burn or wilting. Adjust the concentration of your liquid fertilizer accordingly to maintain plant health and vigor.
Troubleshooting Common Fertilizer Issues
When using liquid fertilizer made from kitchen waste, one common issue is the risk of over-fertilization, which can harm plants. To avoid this, apply the fertilizer sparingly, starting with a diluted solution and gradually increasing concentration if needed.
Another challenge gardeners face is the potential for unpleasant odors from improperly processed kitchen waste. Ensuring that the waste is fully decomposed before use can minimize smells, and adding a handful of garden soil can introduce beneficial microbes to aid decomposition.
Sometimes, gardeners might notice a white residue on their plant leaves after fertilization, which is typically due to salt buildup. To combat this, rinse leaves with clean water after applying the liquid fertilizer, and ensure proper drainage in pots to prevent salt accumulation in the soil.
Lastly, if plants appear stressed after fertilization, it may be due to incorrect pH levels in the fertilizer. Testing the pH of your homemade liquid fertilizer with simple test strips can help you adjust it to a more neutral range, usually between 6.0 and 7.0, to suit most plants.
Conclusion: Growing Success with These Plants
In exploring the transformative journey of turning kitchen waste into liquid fertilizer, we uncovered five key relationship concepts: nurturing growth through consistent effort, understanding each component’s value, balancing contributions for harmony, cultivating patience as change unfolds, and embracing creativity in problem-solving. These principles not only apply to gardening but resonate deeply in nurturing healthy relationships.
As an actionable next step, take a moment to identify one area in your relationship where you can start incorporating these concepts. Whether it’s practicing patience or balancing contributions, small changes can lead to meaningful growth.
Bookmark this article as a resourceful guide on your relationship journey. Saving it ensures you have a handy reminder of these valuable insights whenever you need inspiration or a gentle nudge towards positive change.
Embrace this forward-looking perspective: by applying these nurturing principles, you are sowing seeds for a flourishing relationship, rich in understanding, growth, and mutual respect. Remember, every step you take today builds the foundation for a successful future together. Keep this article close, and let it serve as your compass towards a thriving, fulfilling partnership.