
Welcome to a world where your gardening tools find their perfect home, neatly organized and always within reach. Whether you’re a novice planting your first seeds or a seasoned gardener with a lush backyard, a well-organized tool setup can transform your gardening experience from chaotic to blissfully efficient. Just as a painter needs easy access to brushes and colors, a gardener thrives when their trowels, shears, and spades are thoughtfully arranged. In this article, we’ll guide you through the process of building a garden tool organizer that is both functional and tailored to your unique gardening needs.
Imagine stepping into your garden and knowing precisely where every tool is, ready to spring into action as your green thumb dictates. An organized tool space not only saves time but also enhances the joy and ease of gardening, allowing you to focus more on nurturing your plants and less on searching for misplaced tools. We’ll explore various creative and practical ideas, from using recycled materials to designing custom setups, ensuring your tool organizer is as sustainable as it is efficient. Whether you have a compact balcony garden or a sprawling landscape, you’ll find inspiration and instructions to create a space that enhances your gardening routine.
By the end of this article, you’ll have a comprehensive understanding of how to craft an organizer that suits your space, style, and gardening habits. We’ll cover everything from the initial planning stages to the final touches that make your organizer uniquely yours. So, gather your enthusiasm and a sprinkle of creativity as we embark on this journey to declutter your gardening space and simplify your life. Together, let’s transform your gardening area into a sanctuary of order and inspiration, where every tool has its place and every gardener feels empowered.
Gather Necessary Materials and Tools
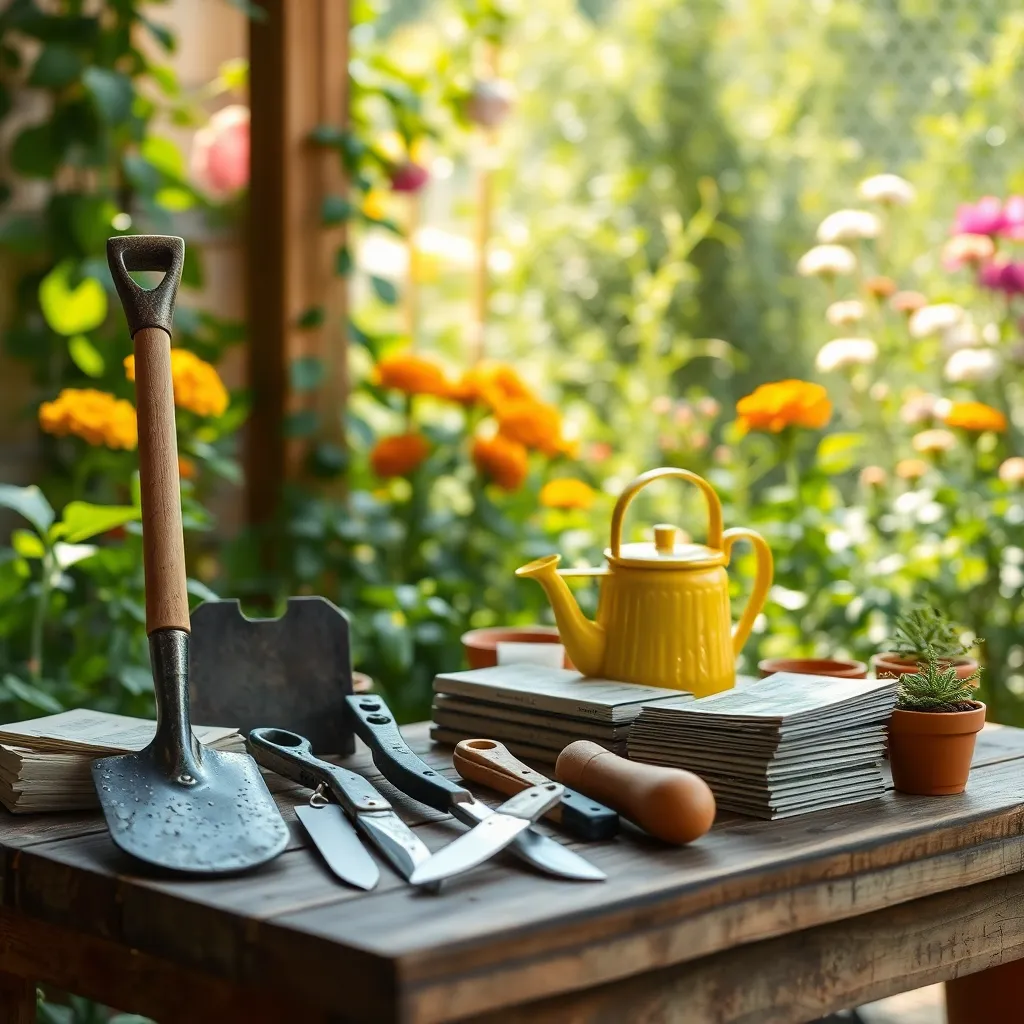
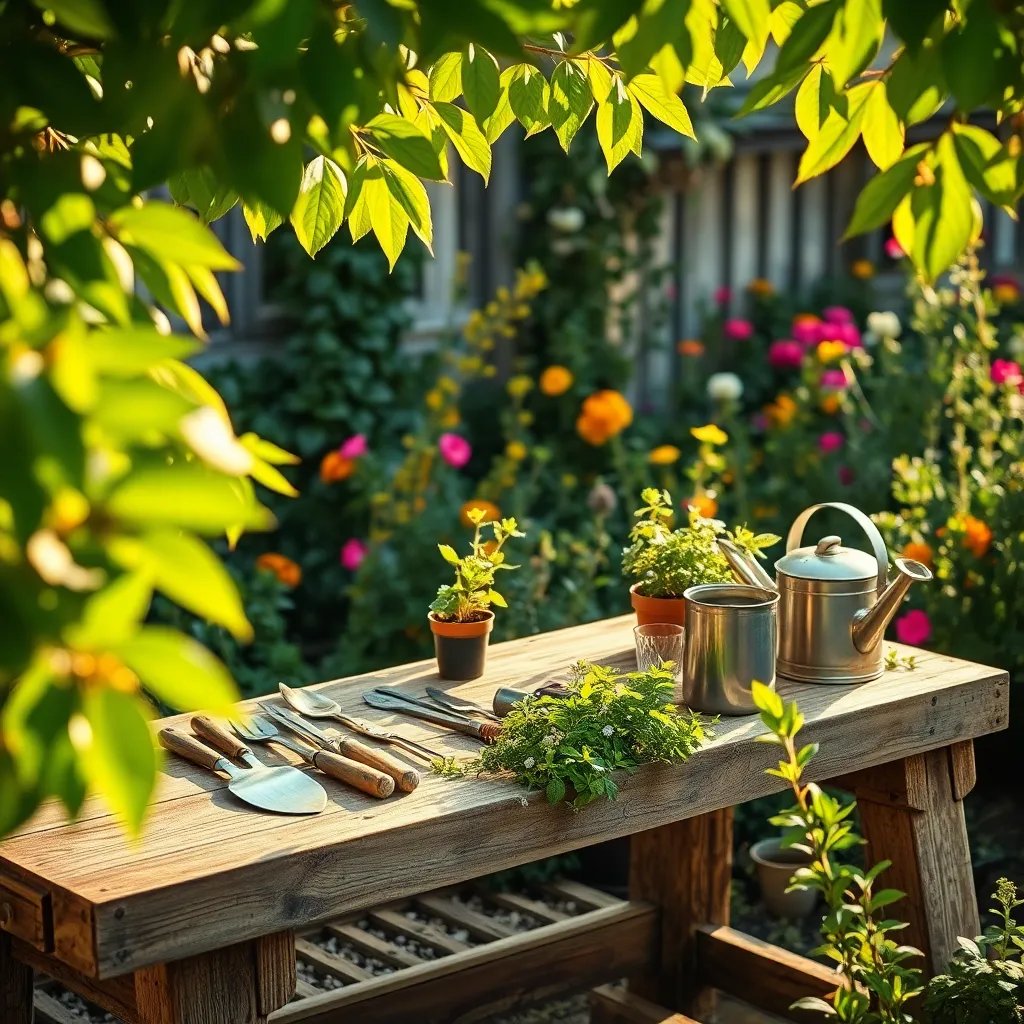
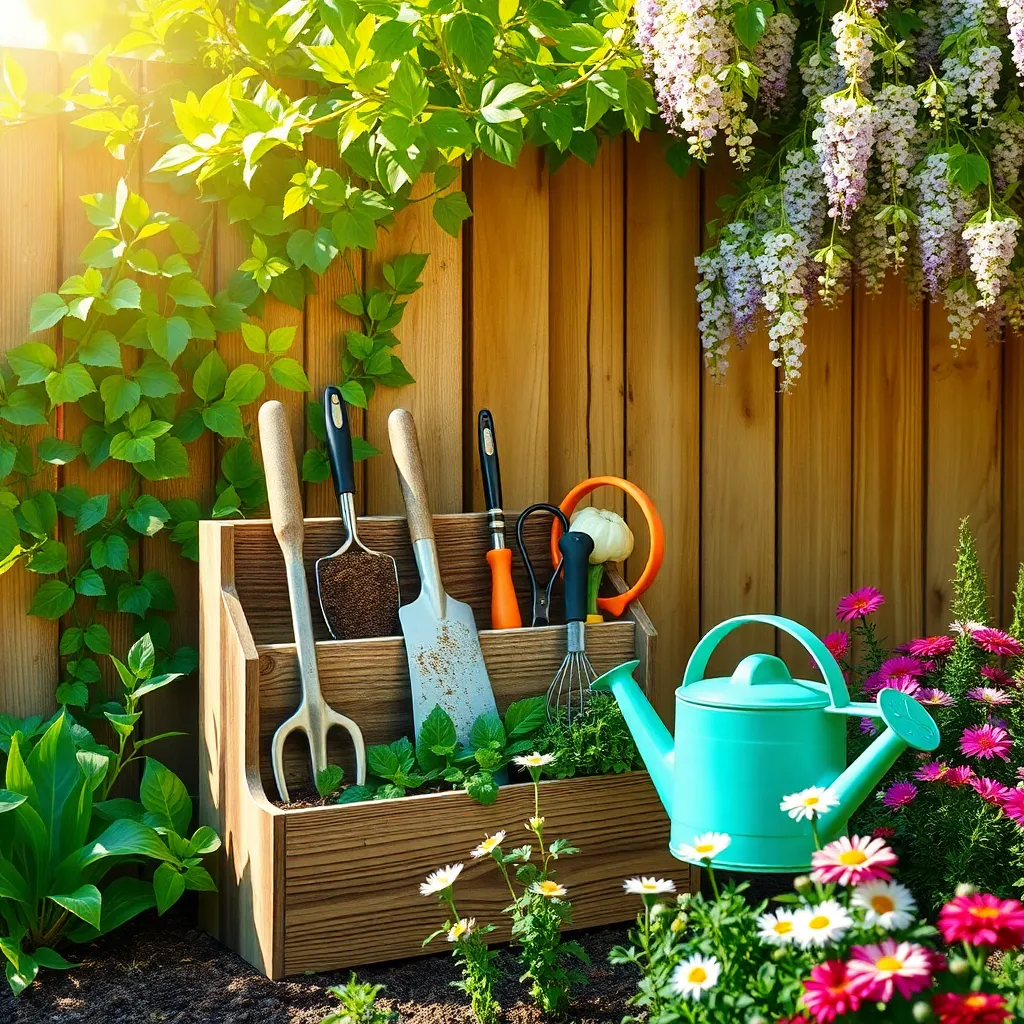
To build an effective garden tool organizer, gather the essential materials and tools to ensure a seamless construction process. You will need sturdy materials like wood or metal for the frame, along with hooks or pegs to hang your tools securely.
Next, consider the location where you’ll be placing the organizer, as this will influence the materials you choose. For outdoor organizers, select weather-resistant materials such as treated wood or rust-proof metal to withstand the elements.
Beyond the primary materials, you’ll require some basic tools to assemble your organizer. A drill, hammer, and saw will cover most construction needs, while a measuring tape and level ensure precision and stability.
Advanced gardeners might incorporate additional features like adjustable shelves or compartments for smaller tools. This can be achieved with sliding brackets or custom-sized holders for specific items, adding both functionality and a personal touch.
Design the Organizer Layout
To design an effective garden tool organizer, start by assessing the space where you will store your tools. Consider the dimensions and shape of your storage area to ensure the organizer fits well and maximizes the available space.
Next, take inventory of your gardening tools, categorizing them by size and frequency of use. This will help you determine how much space each type of tool requires and ensure the most used items are easily accessible.
Arranging tools by type and size can greatly enhance your workflow. For example, group small hand tools together and allocate separate sections for larger tools like shovels and rakes.
Install a sturdy pegboard or slat wall to hang tools, which helps keep them organized and visible. Make sure to use heavy-duty hooks or brackets that can support the weight of heavier items without bending or breaking.
Incorporate shelves and bins for smaller items such as seeds, gloves, and pruners. Label these storage areas clearly to make it easy to find and return tools, keeping your garden space tidy and efficient.
As a final touch, consider adding a magnetic strip for metal tools or a small basket for twine and plant ties. This will not only enhance the functionality of your organizer but also make your gardening tasks more enjoyable and efficient.
Cut and Assemble Wood Pieces
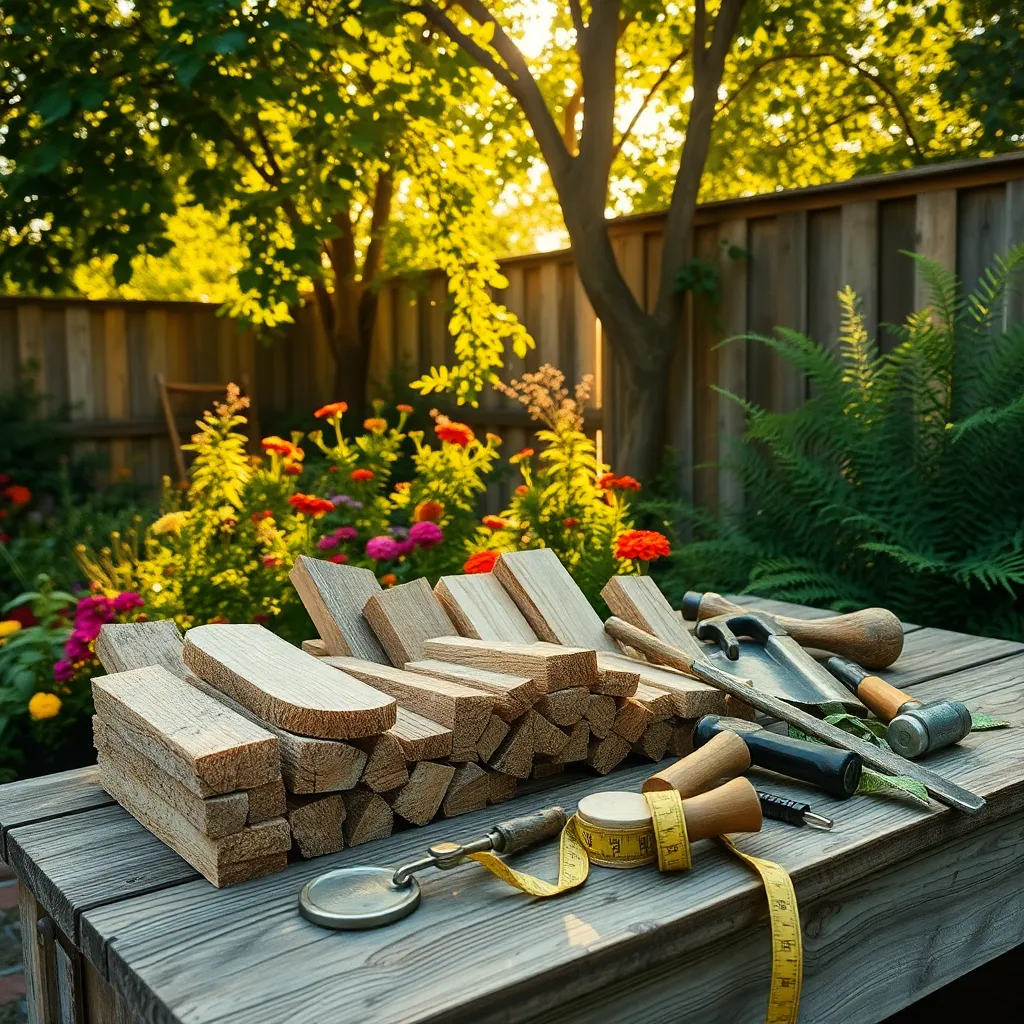
Begin by selecting the right type of wood for your garden tool organizer. Cedar and redwood are excellent choices due to their natural resistance to rot and insects, ensuring durability in outdoor conditions.
Once you have your wood, use a saw to cut the pieces to the sizes specified in your design layout. For beginners, a circular saw can be a great tool to make precise cuts, while more experienced woodworkers might prefer a table saw for greater accuracy.
Safety should be your top priority when cutting wood. Always wear protective eyewear and gloves to prevent injuries, and make sure your work area is well-lit and free of clutter.
After cutting, assemble the pieces using wood screws and a power drill, following your design blueprint closely. Pre-drill holes to avoid splitting the wood, which is especially important when working with hardwoods.
Install Hooks and Holders
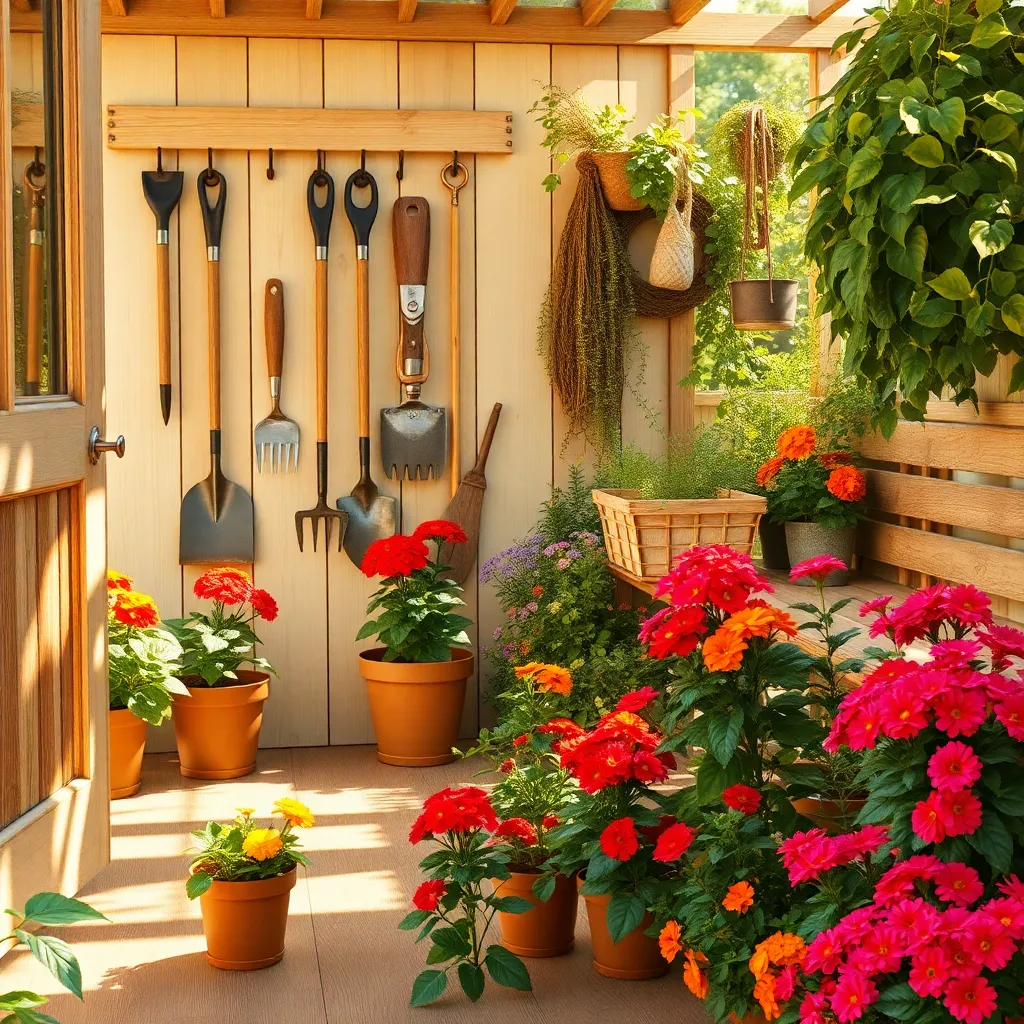
Once you’ve assembled the wood pieces, it’s time to enhance functionality by adding hooks and holders. Hooks are essential for hanging tools like trowels, hand forks, and pruners, keeping them off the ground and within easy reach.
To install hooks, consider the size and weight of the tools you’ll be hanging. Use sturdy, weather-resistant hooks that can support the weight of heavier tools like shovels and rakes without bending or breaking.
For added organization, incorporate holders for smaller items such as seed packets and gloves. A simple shelf or basket can serve this purpose, ensuring that these items remain accessible and protected from the elements.
It’s wise to position hooks and holders at varying heights to accommodate different tool sizes. Beginner gardeners should start with a basic layout, gradually adjusting as their tool collection grows and changes.
Mount Organizer in Desired Location
Before you begin mounting your organizer, decide on the optimal location that allows easy access to your tools. Consider placing it near your garden entrance or workspace to save time and effort when grabbing or storing your equipment.
Ensure the mounting surface is sturdy enough to support the weight of your organizer filled with tools. Walls made of solid wood or reinforced panels are excellent choices, as they provide a robust foundation for your setup.
Use a level to mark where the organizer will hang, ensuring it’s aligned correctly for functionality and aesthetics. A crooked organizer not only looks unsightly but can also cause tools to shift or fall, posing a safety risk.
For added security, use heavy-duty screws or anchors that are appropriate for your wall type. This ensures that your organizer can handle the weight of heavier tools, such as shovels and rakes, without coming loose.
Conclusion: Growing Success with These Plants
In cultivating a harmonious relationship, much like building a garden tool organizer, it’s essential to focus on five key concepts: communication, trust, mutual respect, shared goals, and adaptability. By fostering open and honest communication, couples can address issues before they take root. Building trust requires consistent efforts and reliability, serving as the foundation for a lasting bond. Mutual respect ensures that both partners feel valued and appreciated, while shared goals align their paths toward a common future. Lastly, adaptability allows couples to grow and flourish together, even amidst life’s unpredictable challenges.
As an actionable next step, set aside time this week to discuss your shared goals and dreams with your partner, nurturing your journey together. Remember, the seeds you plant today can blossom into a vibrant relationship tomorrow.
I encourage you to save this article for future reference, as a guide to revisit when tending to your relationship. By bookmarking it, you’ll have a handy reminder of these essential principles to flourish in love.
Looking ahead, embracing these concepts will empower you to build a resilient relationship, one that thrives with understanding and joy. Your love story is a living garden, ready to flourish with care and commitment.