
Imagine transforming your kitchen into a vibrant, miniature garden where fresh, nutritious greens are always within arm’s reach. Growing microgreens in your kitchen is not only a delightful way to liven up your space but also a practical approach to adding a nutritious punch to your meals. Whether you’re just dipping your toes into the world of gardening or you’re an experienced green thumb looking for a new challenge, cultivating microgreens is an accessible and rewarding endeavor that requires minimal space and effort.
Microgreens are more than just a trendy garnish; they are tiny powerhouses of flavor and nutrition, offering a burst of fresh taste to any dish. As you embark on this journey, you’ll discover the simplicity of growing these small but mighty greens right from the comfort of your own home. In this article, we’ll guide you through the process step-by-step, from selecting the right seeds to harvesting your first batch of microgreens. You’ll learn how to create the ideal growing environment and explore various ways to incorporate these nutrient-rich greens into your culinary creations.
By the end of your microgreens adventure, you’ll not only have a fresh supply of greens but also a newfound confidence in your ability to grow food indoors. This guide will equip you with practical tips and insights to ensure your microgreens thrive, turning your kitchen into a continuous source of fresh produce. Let’s dig into the world of microgreens together, where a window sill can become a garden, and every meal can be enhanced with a touch of homegrown goodness.
Select Suitable Microgreen Seeds
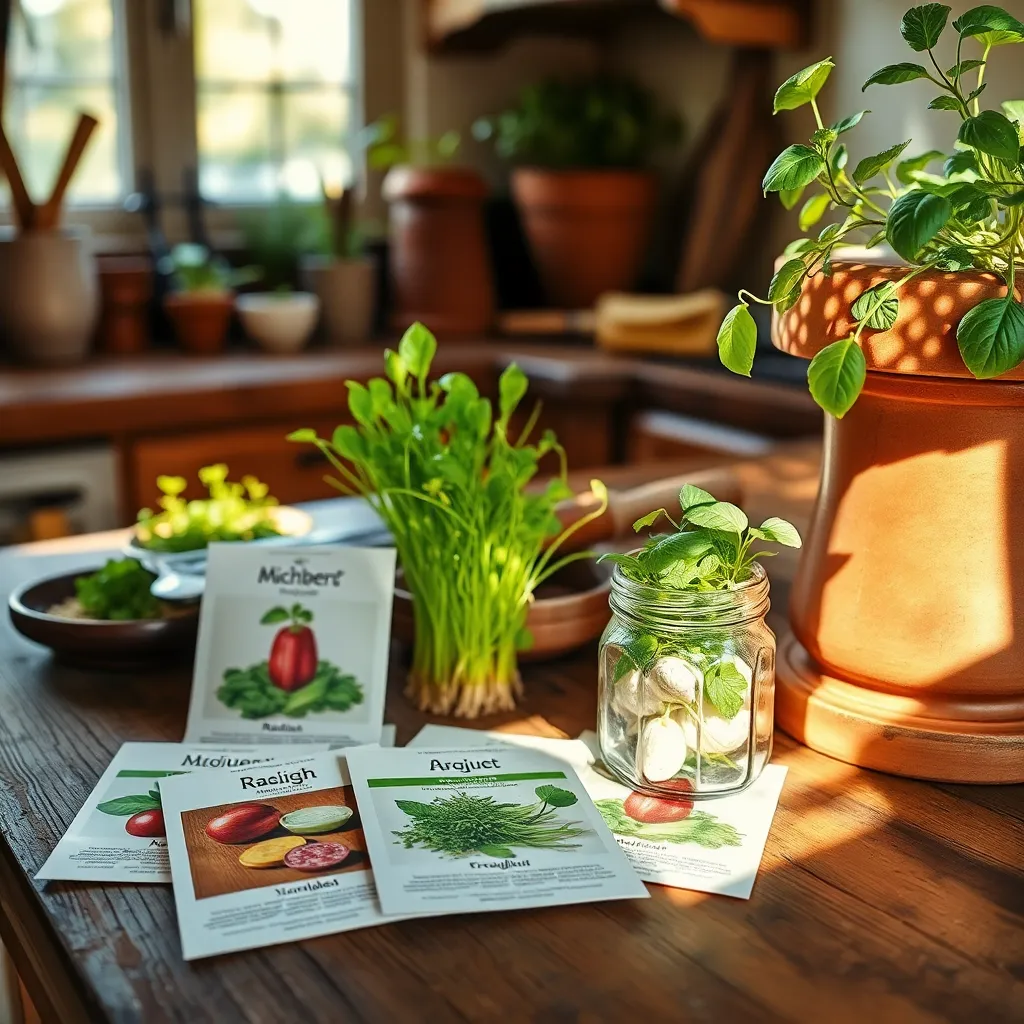
Choosing the right seeds is crucial for successfully growing microgreens in your kitchen. Opt for seeds that are specifically labeled as microgreen seeds, as these are often untreated and designed for quick, healthy sprouting.
Consider starting with popular varieties like radish, sunflower, or broccoli, which are known for their ease of growth and nutritional value. These seeds typically sprout quickly, providing a rewarding experience for beginners.
When selecting seeds, it’s important to think about your available space and light conditions. Microgreens like pea shoots and basil thrive in a sunny windowsill, while others such as cilantro and mustard can tolerate slightly less light.
For an advanced tip, mix different seeds to create a blend with varied textures and flavors, enhancing your culinary options. Experiment with combinations like spicy radish with mild sunflower to discover delicious new flavors that complement each other.
Prepare a Shallow Container
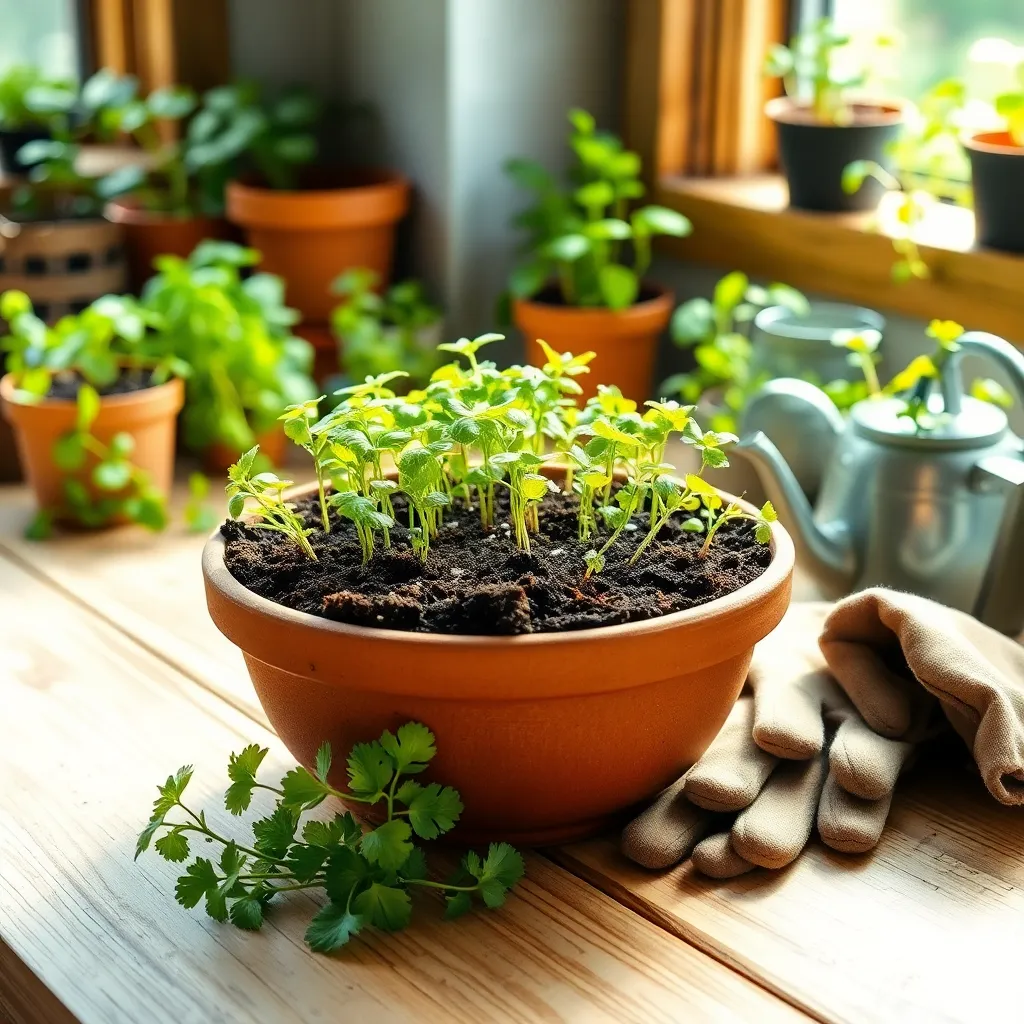
To successfully grow microgreens, starting with the right container is essential. A shallow container, typically 1 to 2 inches deep, provides the perfect environment for microgreen roots to thrive without excess soil.
Ensure your container has drainage holes to prevent waterlogging, which can lead to root rot. If you’re using a container without pre-existing holes, you can easily drill or punch them to ensure proper drainage.
Consider using a lightweight, sterile potting mix that retains moisture yet allows for good air circulation. Avoid using garden soil, as it may compact and restrict root growth, and might also harbor pests or diseases.
For those looking to optimize their setup, placing a shallow tray underneath the container can help catch excess water and reduce mess in your kitchen. This simple addition makes it easy to maintain a clean growing area, especially when you’re harvesting your microgreens regularly.
Plant Seeds Evenly in Soil
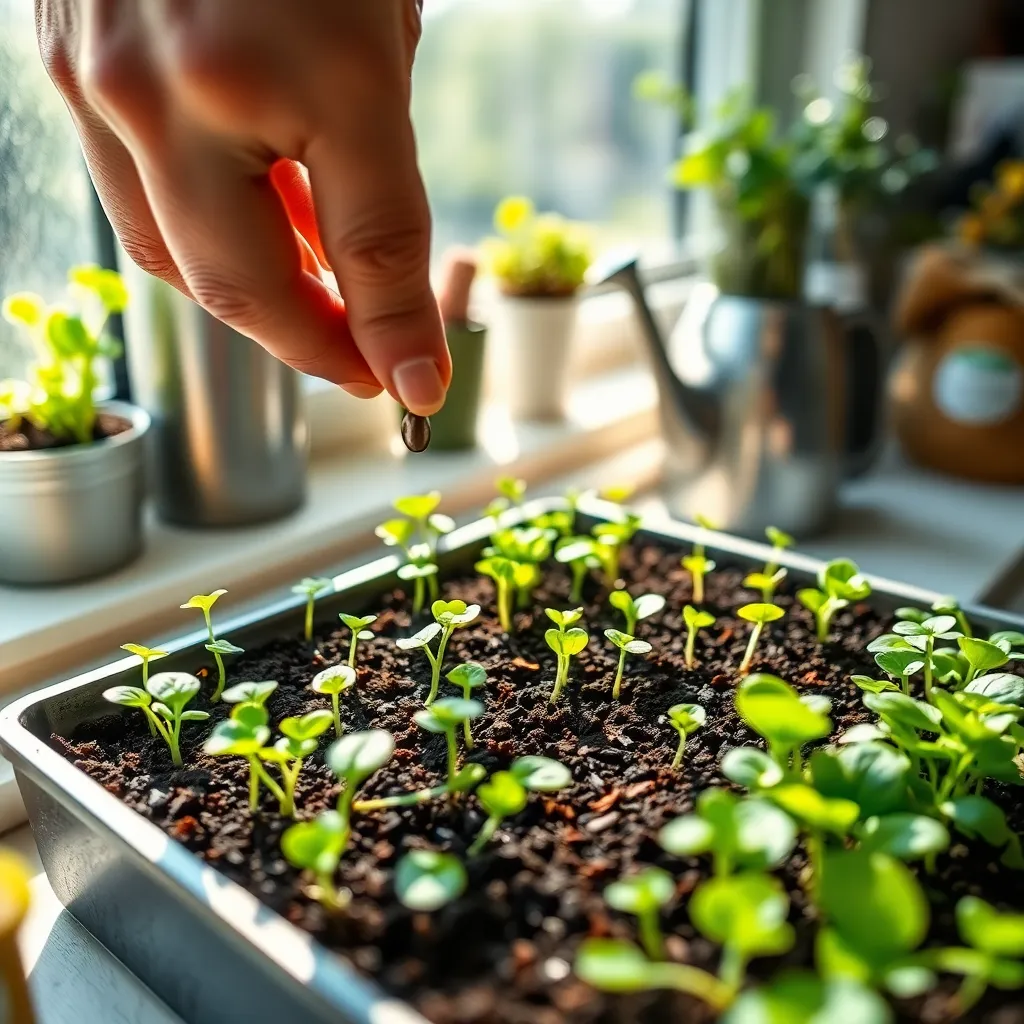
Once your container is ready, it’s time to plant your microgreen seeds evenly across the soil surface. Distributing seeds uniformly ensures that each plant has enough space and resources to grow, preventing overcrowding and competition.
Begin by selecting a high-quality seed mix suitable for microgreens, such as sunflower or radish. Use your fingers or a small seed spreader to sprinkle the seeds evenly, aiming for a dense but not overlapping coverage.
For best results, lightly press the seeds into the soil using a flat object, like a small board or your hand. This ensures good seed-to-soil contact, which is essential for effective germination and healthy growth.
After planting, cover the seeds with a thin layer of soil or vermiculite to help retain moisture. Water the seeds gently using a spray bottle to avoid washing them away, ensuring the top layer remains evenly moist but not waterlogged.
Maintain Moisture with Gentle Watering
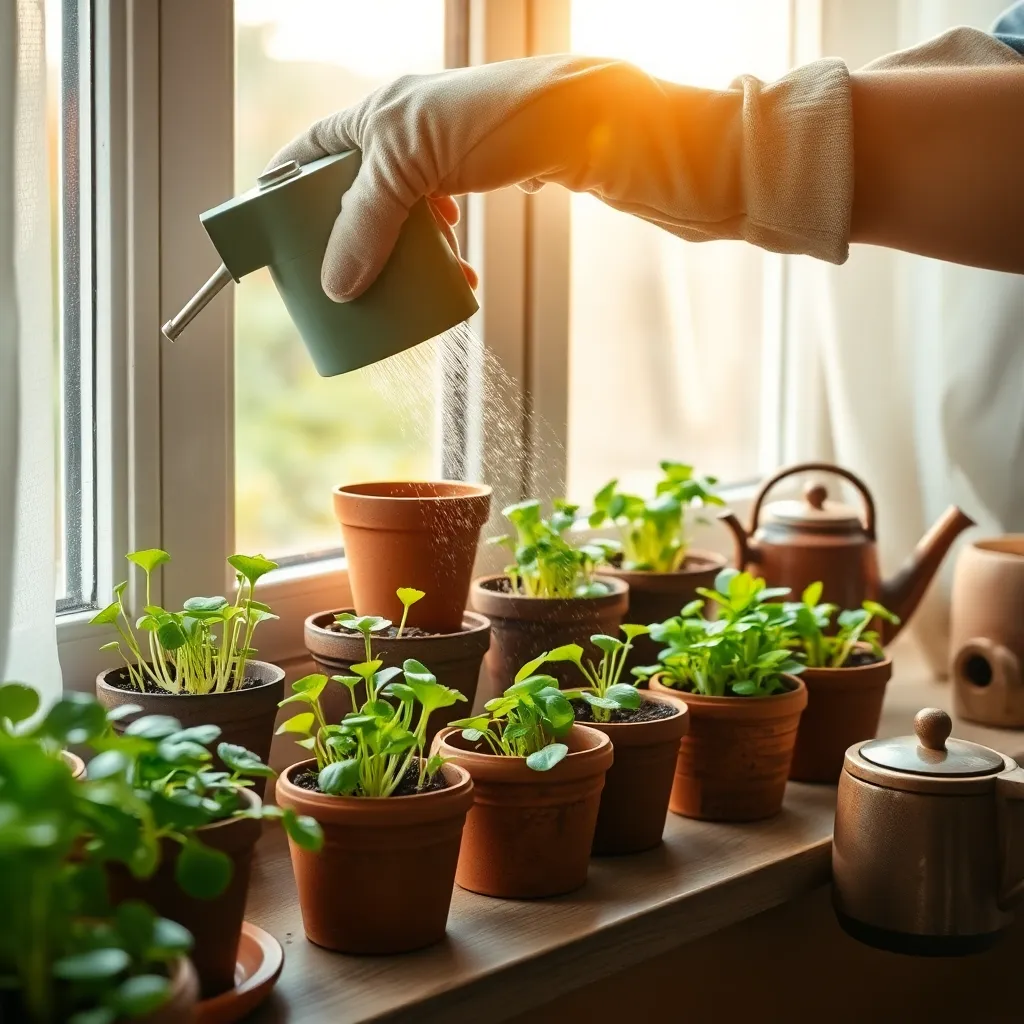
To maintain moisture effectively, it’s essential to water your microgreens gently. Use a spray bottle or a fine mist setting on your watering can to avoid displacing seeds.
The soil should be kept consistently moist but not waterlogged, as excessive water can encourage mold growth. Check the moisture level daily by gently pressing the soil surface with your finger.
It’s beneficial to water your microgreens twice a day, especially during the early stages of growth. In drier environments, consider using a humidity dome or placing a plastic wrap over the container to help retain moisture.
For advanced care, use filtered or distilled water to prevent chlorine buildup, which can affect the delicate roots. Additionally, you can add a diluted organic liquid fertilizer once a week to provide essential nutrients for vibrant growth.
Harvest When Greens Reach Maturity
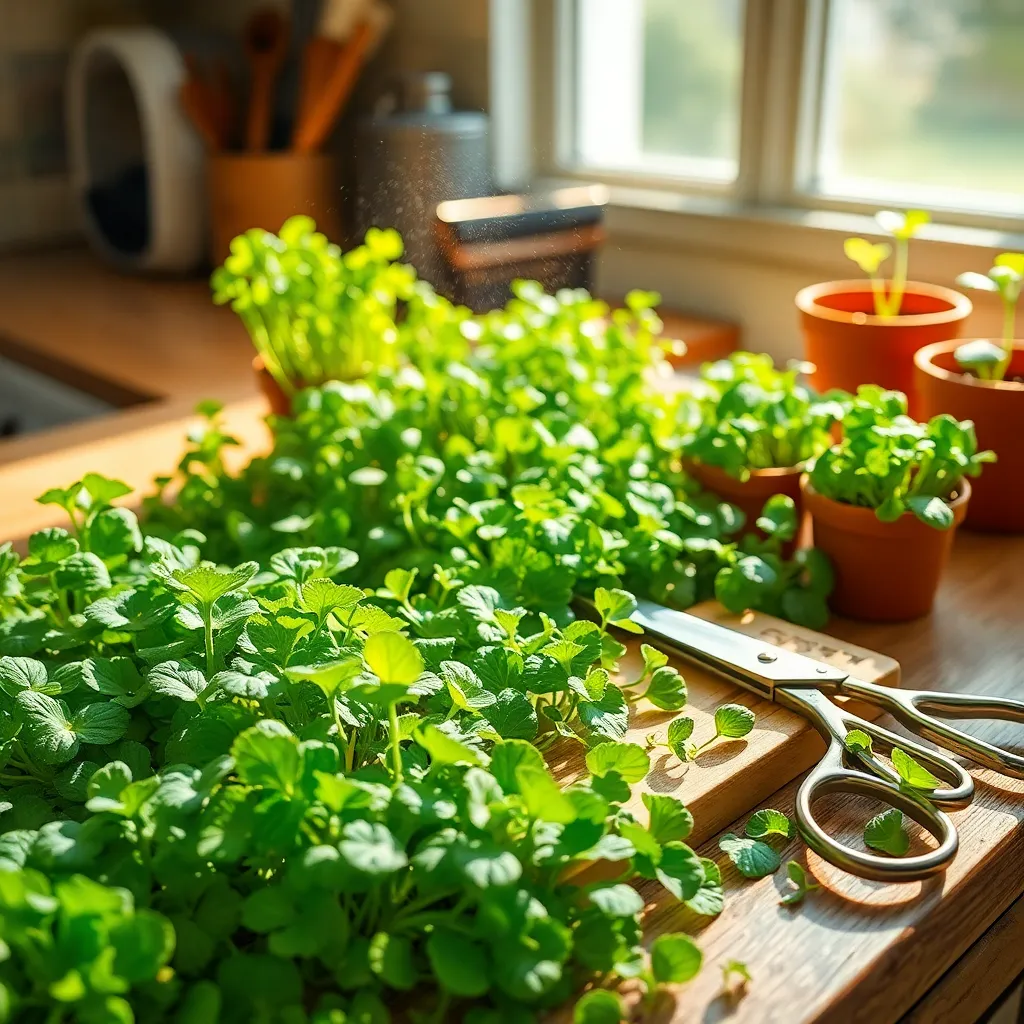
When cultivating microgreens, knowing the right time to harvest is crucial for flavor and nutrition. Generally, microgreens are ready to be harvested when they reach about one to two inches in height, which usually takes about 7 to 14 days, depending on the variety.
Keep an eye on the first set of true leaves, as this is a good indicator that your microgreens are ready to be harvested. At this point, the greens will have developed their full flavor profile, making them perfect for adding a fresh, nutritious boost to your meals.
To harvest, use sharp scissors or a knife to cut the greens just above the soil line. This ensures a clean cut that minimizes damage to the plants and reduces the risk of pathogens entering the system.
For optimal results, conduct your harvest in the morning when the plants are most hydrated and full of flavor. After cutting, you can store your microgreens in a sealed container in the refrigerator for up to a week, though they are best enjoyed fresh for maximum taste and nutrition.
Conclusion: Growing Success with These Plants
As we journeyed through the verdant world of microgreens, we unearthed five pivotal relationship concepts: the importance of nurturing growth through consistent care, the power of patience in seeing relationships flourish, the need for a supportive environment to foster healthy connections, the art of attentive listening to understand subtle cues, and the joy of celebrating small victories together. These insights not only help cultivate microgreens but also enrich the soil of our personal relationships.
Now, it’s time to take action. Why not dedicate a small corner of your kitchen—and your schedule—to start growing microgreens? This simple step will serve as a tangible reminder of the nurturing that all relationships require.
For a deeper dive into these concepts, be sure to bookmark this article. It’ll be your handy guide, offering insights and encouragement whenever needed. As you embark on this journey, remember that every thriving relationship starts with small, consistent actions. By applying these principles, you’re not only setting the stage for a flourishing garden but also sowing seeds for lasting relationship success. Here’s to a future filled with growth, understanding, and shared joy!