
Welcome to the enchanting world of terrariums, where the art of gardening meets the allure of miniature landscapes. Whether you’re a seasoned green thumb or just starting your plant journey, crafting your own DIY terrarium is a delightful way to bring a piece of nature indoors. These self-contained ecosystems not only offer a splash of verdant beauty to any space but also provide a fascinating glimpse into the delicate balance of plant life.
As you embark on this creative venture, you’ll discover the joy of selecting plants, arranging them in harmony, and watching them thrive in their own little microcosm. This article will guide you through each step, from choosing the right container and soil to understanding the nuances of plant care within a terrarium environment. By the end, you’ll have the confidence and knowledge to create a stunning terrarium that reflects your personal style and enhances your home or office with its verdant charm. So, gather your gardening tools and let’s dive into the captivating process of making your own living masterpiece.
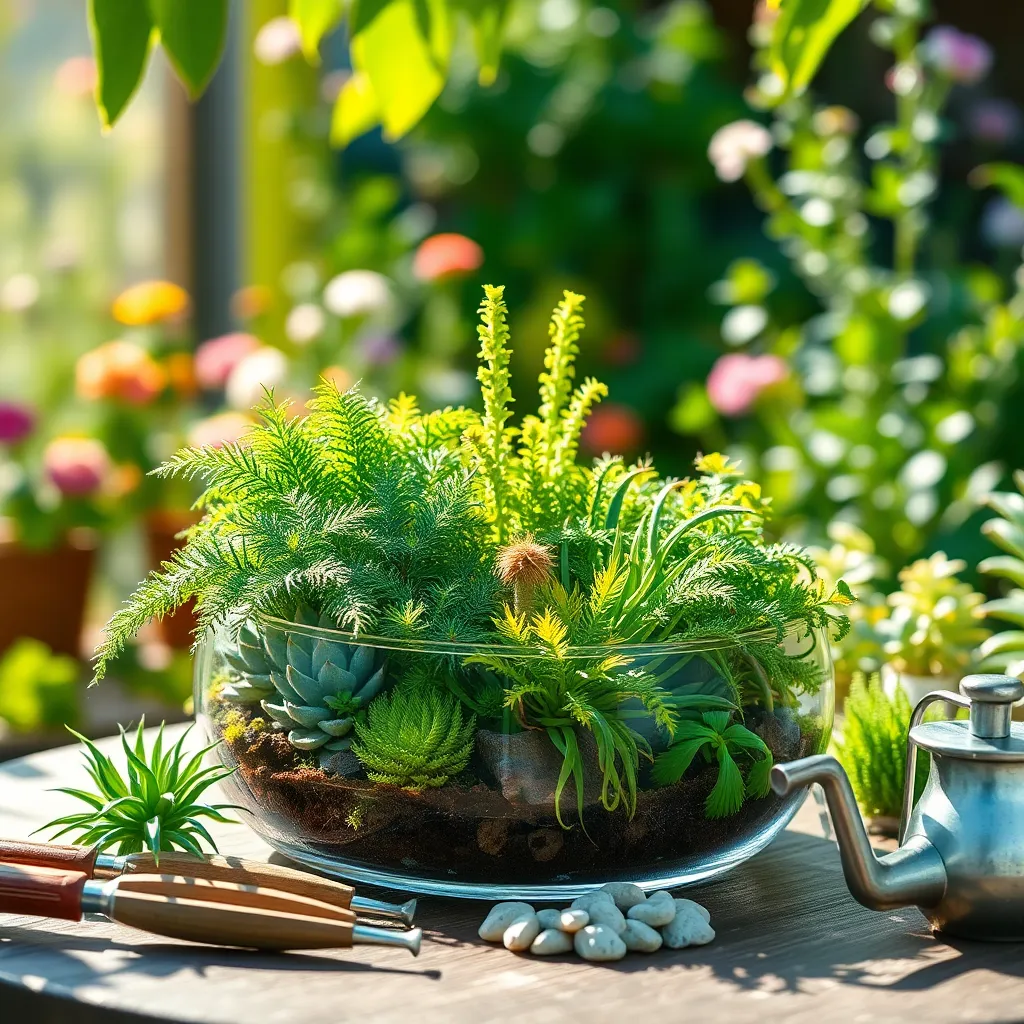
Select a Suitable Container
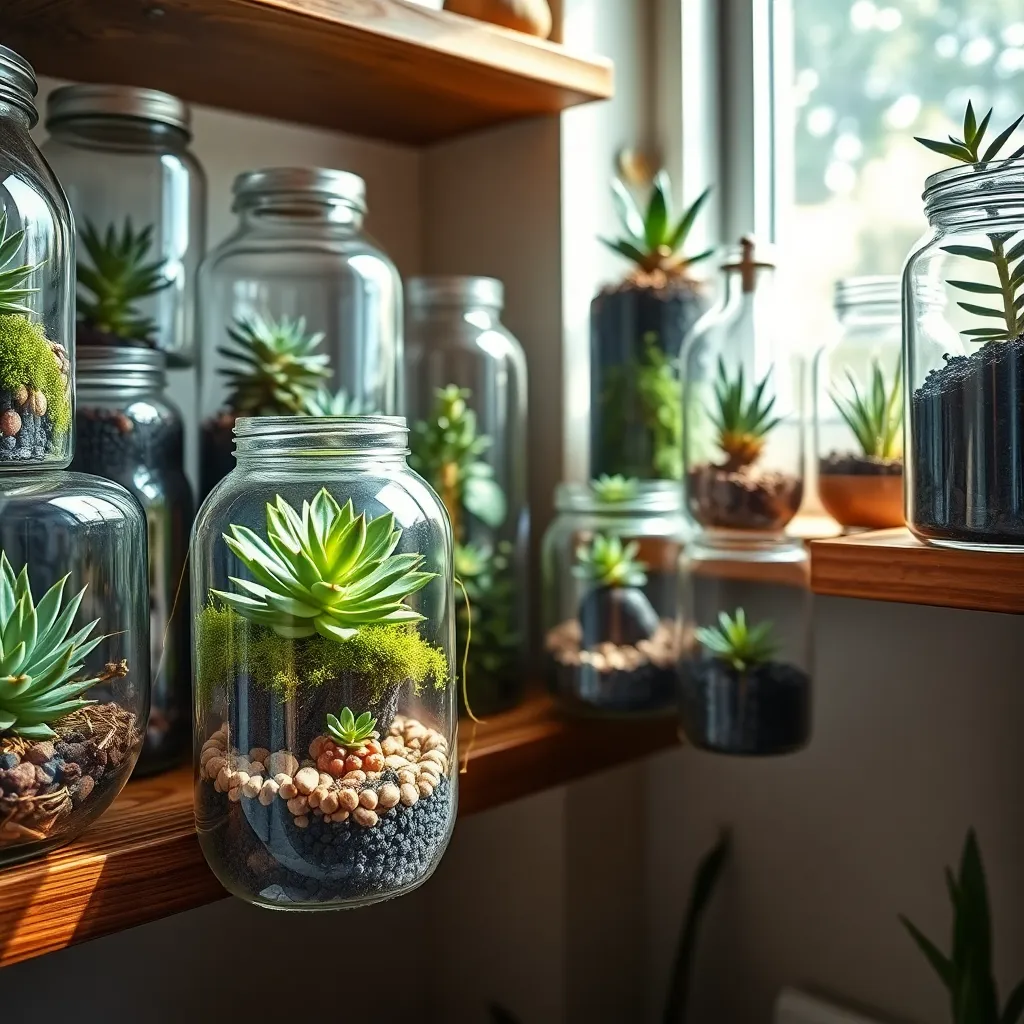
Choosing the right container is the first step in creating a successful DIY terrarium. Look for clear glass containers that allow plenty of light to reach the plants, as this is crucial for their growth.
Consider the size of the container based on the plants you wish to include. A larger container can accommodate a variety of plants and create a more dynamic display, while a smaller container is ideal for a minimalist approach.
Ensure your selected container has an opening wide enough to allow easy planting and maintenance. Closed containers are perfect for moisture-loving plants, while open containers are better for succulents and air plants that require less humidity.
Drainage is another essential factor to consider when selecting your terrarium container. While traditional terrariums don’t have drainage holes, adding a layer of gravel or small stones at the bottom can help prevent water from accumulating around plant roots.
Layer Pebbles for Drainage
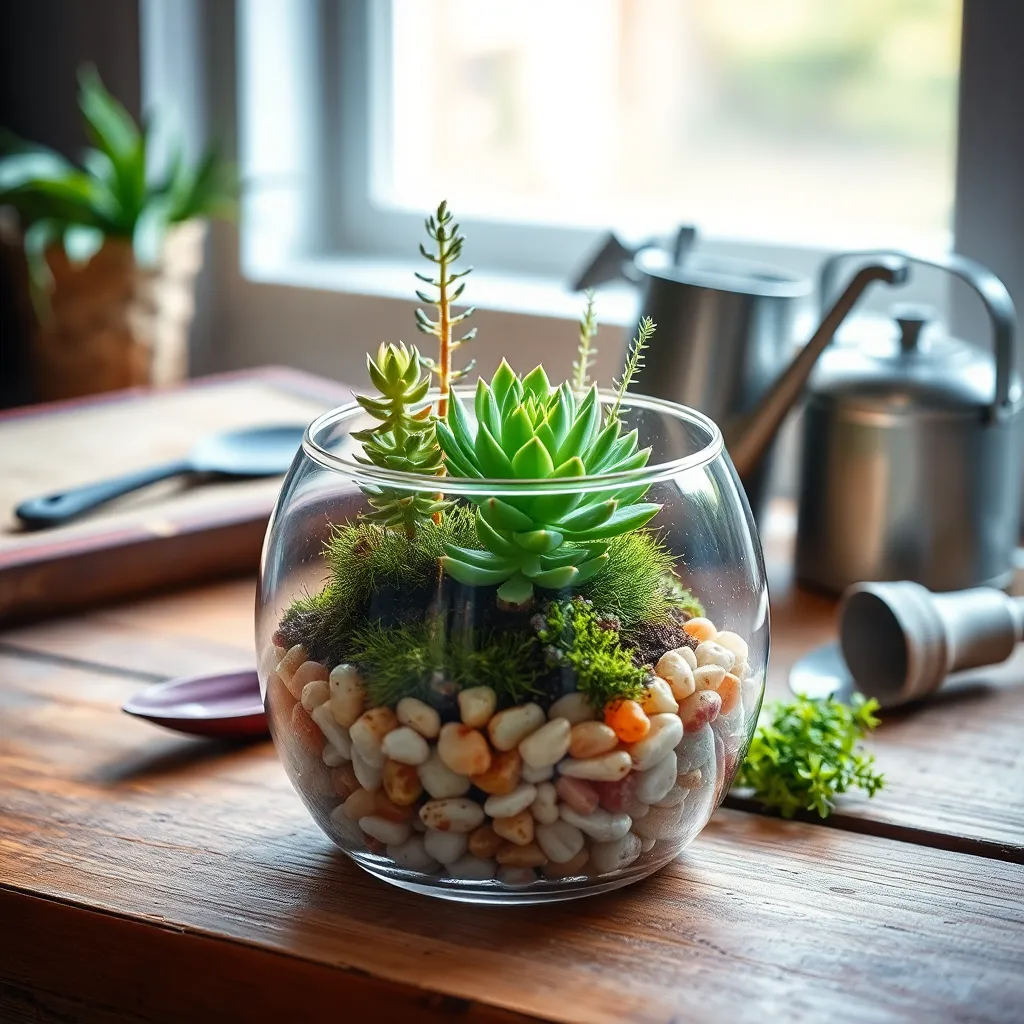
Once you have chosen a suitable container for your terrarium, begin by adding a layer of pebbles at the base. This layer serves as a drainage system, which is especially crucial if your container lacks drainage holes.
Use small, clean pebbles or gravel, about 1 to 2 inches deep, depending on the size of your container. Ensure the pebbles cover the entire base to effectively collect excess water and prevent root rot.
For those looking to enhance drainage further, consider adding a thin layer of activated charcoal over the pebbles. Activated charcoal helps filter impurities and reduces odors, keeping your terrarium fresh and healthy.
Before adding the next layers, gently rinse the pebbles to remove any dust or debris. This step is essential to maintain a clean environment for your plants, promoting optimal growth conditions.
Add Activated Charcoal Layer
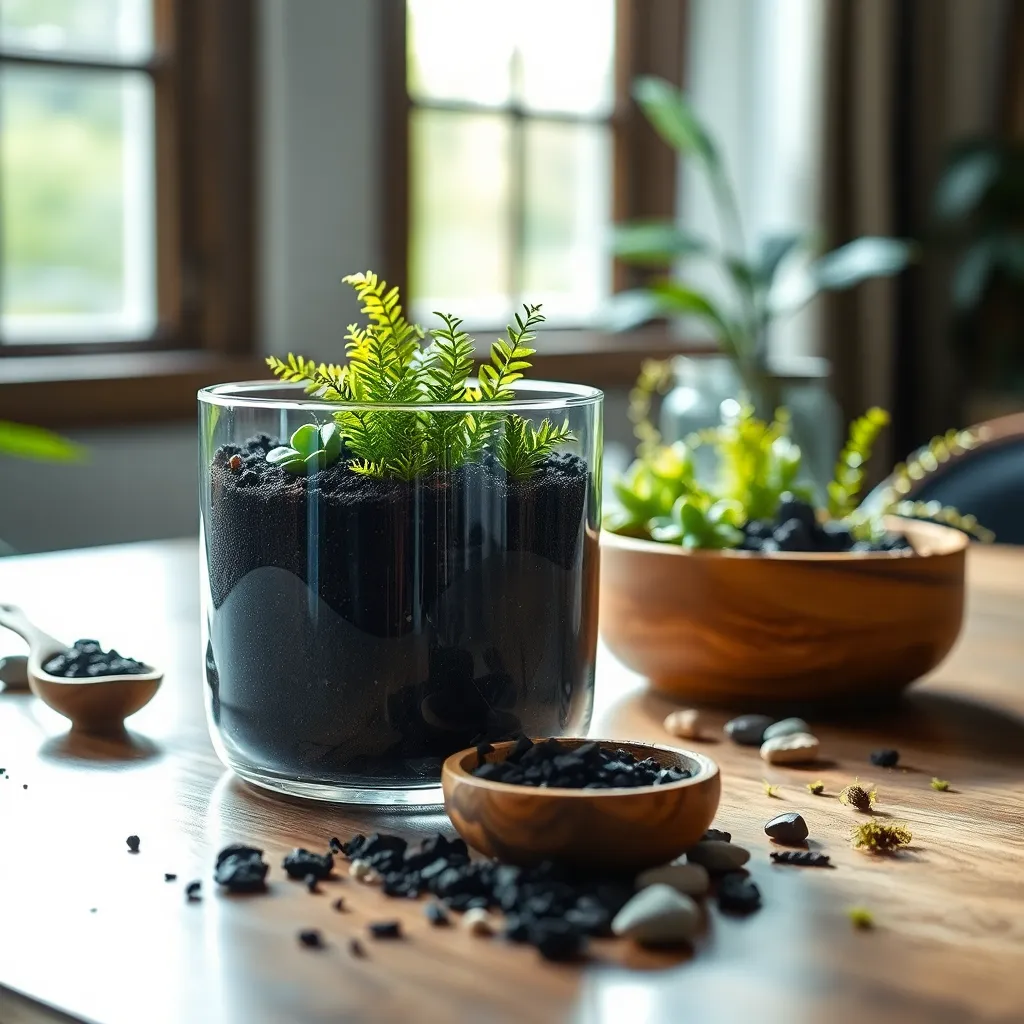
After creating a drainage layer with pebbles, it’s time to add a layer of activated charcoal. This step is crucial as activated charcoal helps to filter water and absorb any impurities or odors within your terrarium.
Activated charcoal is particularly beneficial in closed terrariums where moisture levels can build up. By including this layer, you ensure that your plants’ roots remain healthy and free from rot due to excess moisture.
To ensure proper coverage, spread a thin layer of activated charcoal over the pebbles. A layer of about ¼ to ½ inch thick is ideal for most terrarium sizes, providing enough material to filter water effectively.
For those with larger terrariums, consider increasing the thickness of the charcoal layer slightly. This will offer better filtration and longer-lasting freshness to the environment within your terrarium, supporting plant health over time.
Introduce Potting Soil Mix
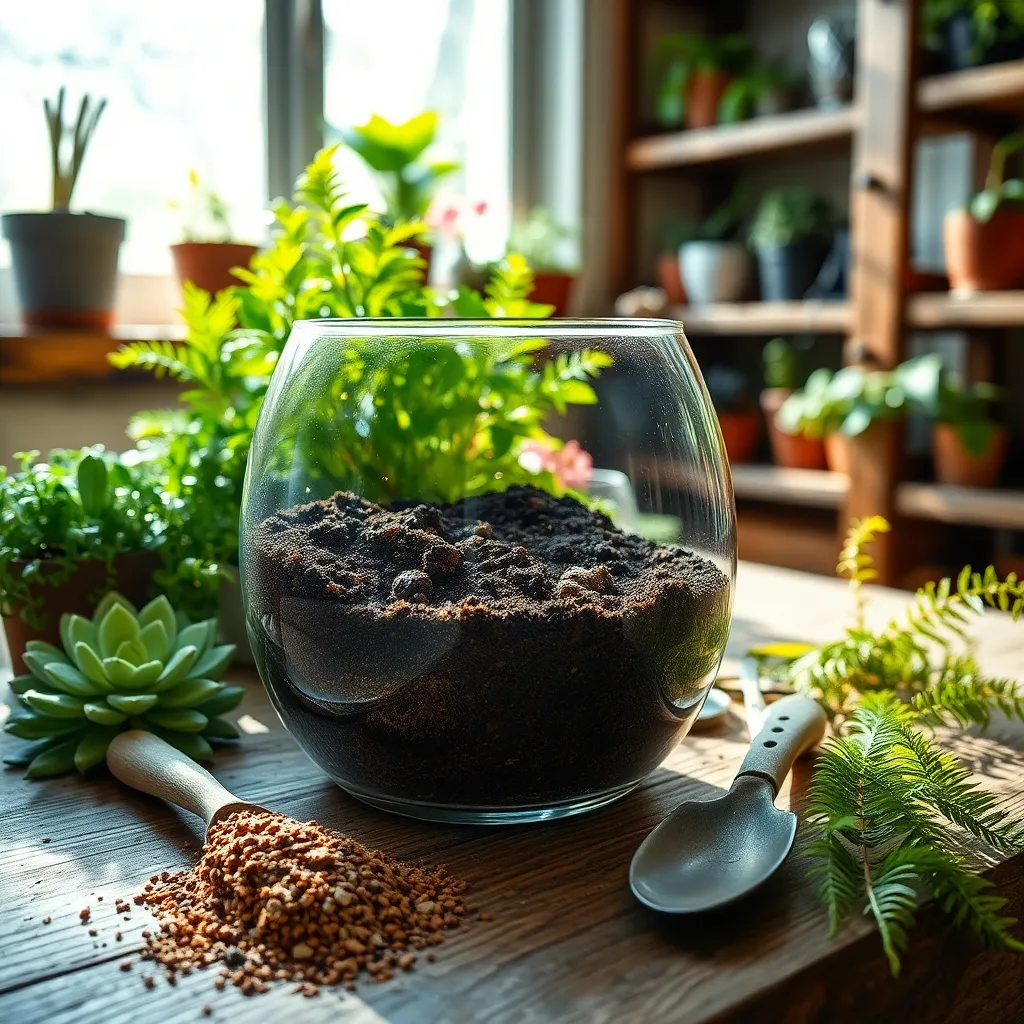
To start building a thriving terrarium, selecting the right potting soil mix is crucial. A well-balanced potting mix serves as the foundation for healthy plant growth and moisture regulation.
Consider using a potting mix that is specifically formulated for indoor plants. This type of mix usually contains a blend of peat moss, perlite, and vermiculite, which helps with drainage and aeration.
For beginners, a pre-mixed potting soil designed for houseplants is a great choice. It offers the right balance of nutrients and helps retain moisture while preventing root rot.
Advanced gardeners might opt to customize their own mix by adding orchid bark or sand to enhance drainage further. These additions can be particularly beneficial if you plan to include succulents or cacti in your terrarium, which prefer drier conditions.
As you fill your terrarium with soil, make sure to leave enough space for root growth. Typically, a layer of potting soil about one to two inches deep is sufficient, ensuring that your plants have enough room to establish themselves and thrive.
Position and Plant Your Greens
Positioning your plants thoughtfully within the terrarium is crucial for their growth and aesthetic appeal. Consider the light requirements of each plant, ensuring that those needing more light are positioned towards the top or near the outer edges where they can receive adequate sunlight.
Choose plants that thrive in similar environmental conditions to ensure they coexist harmoniously. For instance, combine moisture-loving ferns with humidity-tolerant mosses for a lush, thriving ecosystem.
When planting, gently remove each plant from its container and loosen the roots to encourage growth. Make sure to plant them at the same depth as they were in their original pots, ensuring stability and healthy root development.
Arrange the plants to create visual interest, considering their sizes and growth patterns. Place taller plants at the back or center, and use smaller, spreading plants to fill in gaps and add texture.
Conclusion: Growing Success with These Plants
In crafting your own DIY terrarium, you’ve embarked on a journey that mirrors the nurturing of a thriving relationship. By understanding the importance of a solid foundation, you learn to build trust and stability. Through selecting diverse yet complementary elements, you appreciate the beauty of individuality and balance. Maintaining proper care—watering and pruning—teaches the value of consistent effort and attention. Observing how your terrarium evolves over time reminds you of the growth that comes from patience and resilience. Finally, sharing this creation with others highlights the joy of shared experiences and mutual appreciation.
As your next step, why not plan a terrarium-making date with your partner or a loved one? This hands-on activity fosters teamwork and opens avenues for meaningful conversation. Remember, nurturing relationships, much like terrariums, require ongoing attention and love.
Be sure to bookmark this article to revisit these insightful parallels whenever you need a gentle reminder of nurturing your bonds. Looking ahead, envision a future where your relationships flourish, enriched by the lessons learned here. With each step, you are empowered to cultivate connections that stand the test of time, one thoughtful gesture at a time.